Familiarize yourself with upcoming changes to the Approvals workflow
In addition to Transfer’s new Template Based Transaction framework, Transfer approvals will change on April 14.
How will Approvals change?
Changes begin with how approvers are notified of a submitted transaction. After an initiator submits a Transfer transaction, it will be routed for approval. Approvers will be notified of this through email.
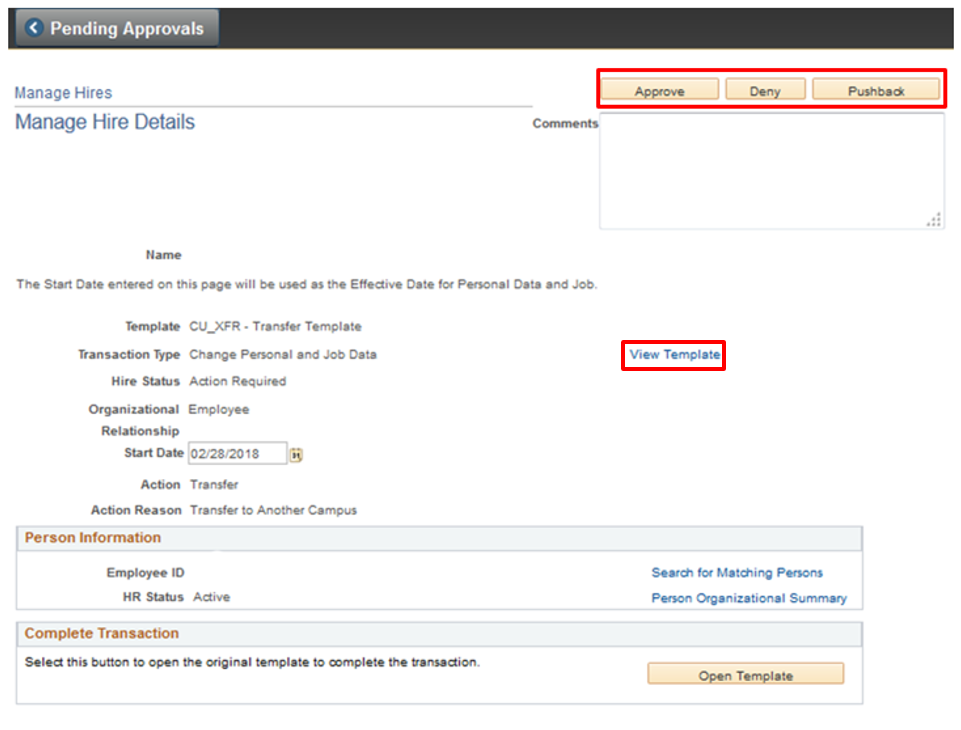
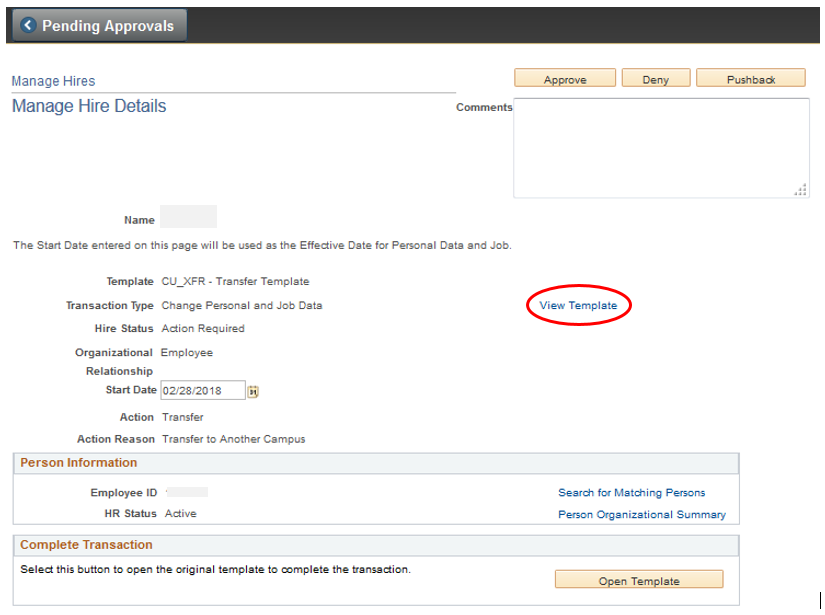
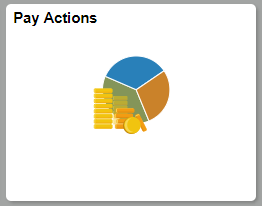
Approvals will be viewable through the Approval tile or Manage Hire Details page, depicted below.
Note: Click on any image to enlarge it.
Clicking the View Template link from these locations will open the template in read-only mode. Once opened, there will be options to Approve, Deny or Pushback the transaction.
What do these actions do?
- If no corrections are needed, selecting Approve will finalize the transaction.
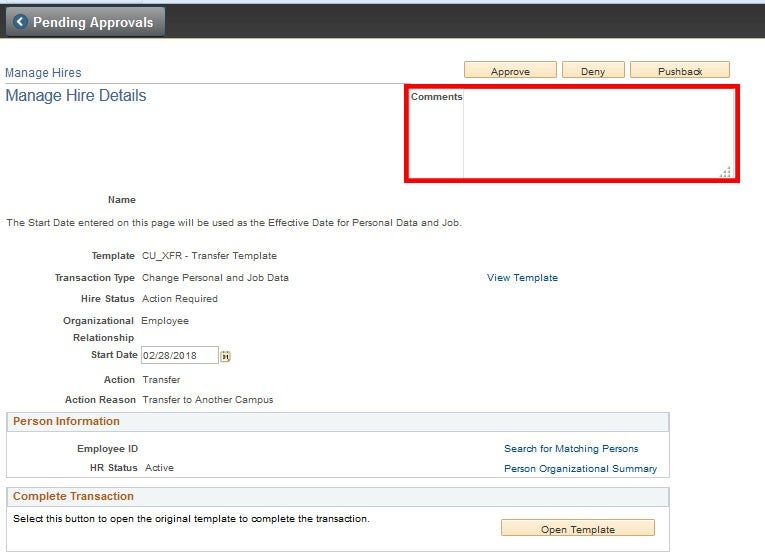
- If Deny is selected, the initiator will need to start a new transaction. Approvers are required to enter comments when they deny a transaction. The initiator will receive these comments in an email.
- Pushback sends the transaction back to the initiator. The approver must include comments to indicate needed corrections.
Verifying information is correct and making adjustments
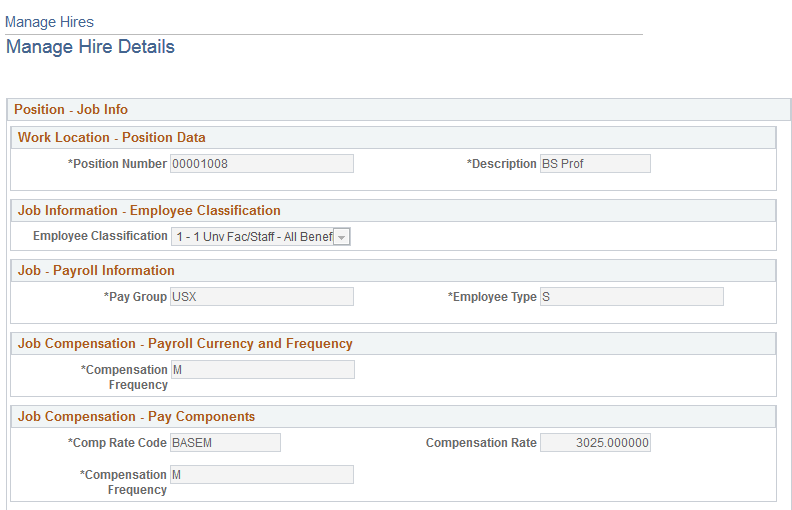
To verify the information (position, department, payroll, etc.) on the transaction if correct, click View Template on the Manage Hire Details page. This will open the template.
Approvers must make their approval decision (Approve, Deny or Pushback) or select Open Template to make changes. Comments explaining what will be changed will be required if the Deny, Pushback or Open Template options are chosen. Note: Changes should not be made on a regular basis. They should only be made in time sensitive situations.
After changes are made to the template, click Save and Submit. The transaction will submit itself to the database, and the user will be brought back to the Manage Hire Detail page. Actions on the page will be greyed out to prevent further action and an email will be sent to the initiator notifying them of the update and comments.
Viewing the Approval Chain
Users will have the option to view where a transaction sits in the approval chain by following these steps:
|
|
|
|
|
|
|
|
|



Add new comment