


Send Marketing Cloud Emails
There are two ways to send emails through Marketing Cloud, Guided Send and Salesforce Send Emails. Guided Send has a sleeker interface but Salesforce Send Emails can be reused bringing efficiency and minimizing room for error.
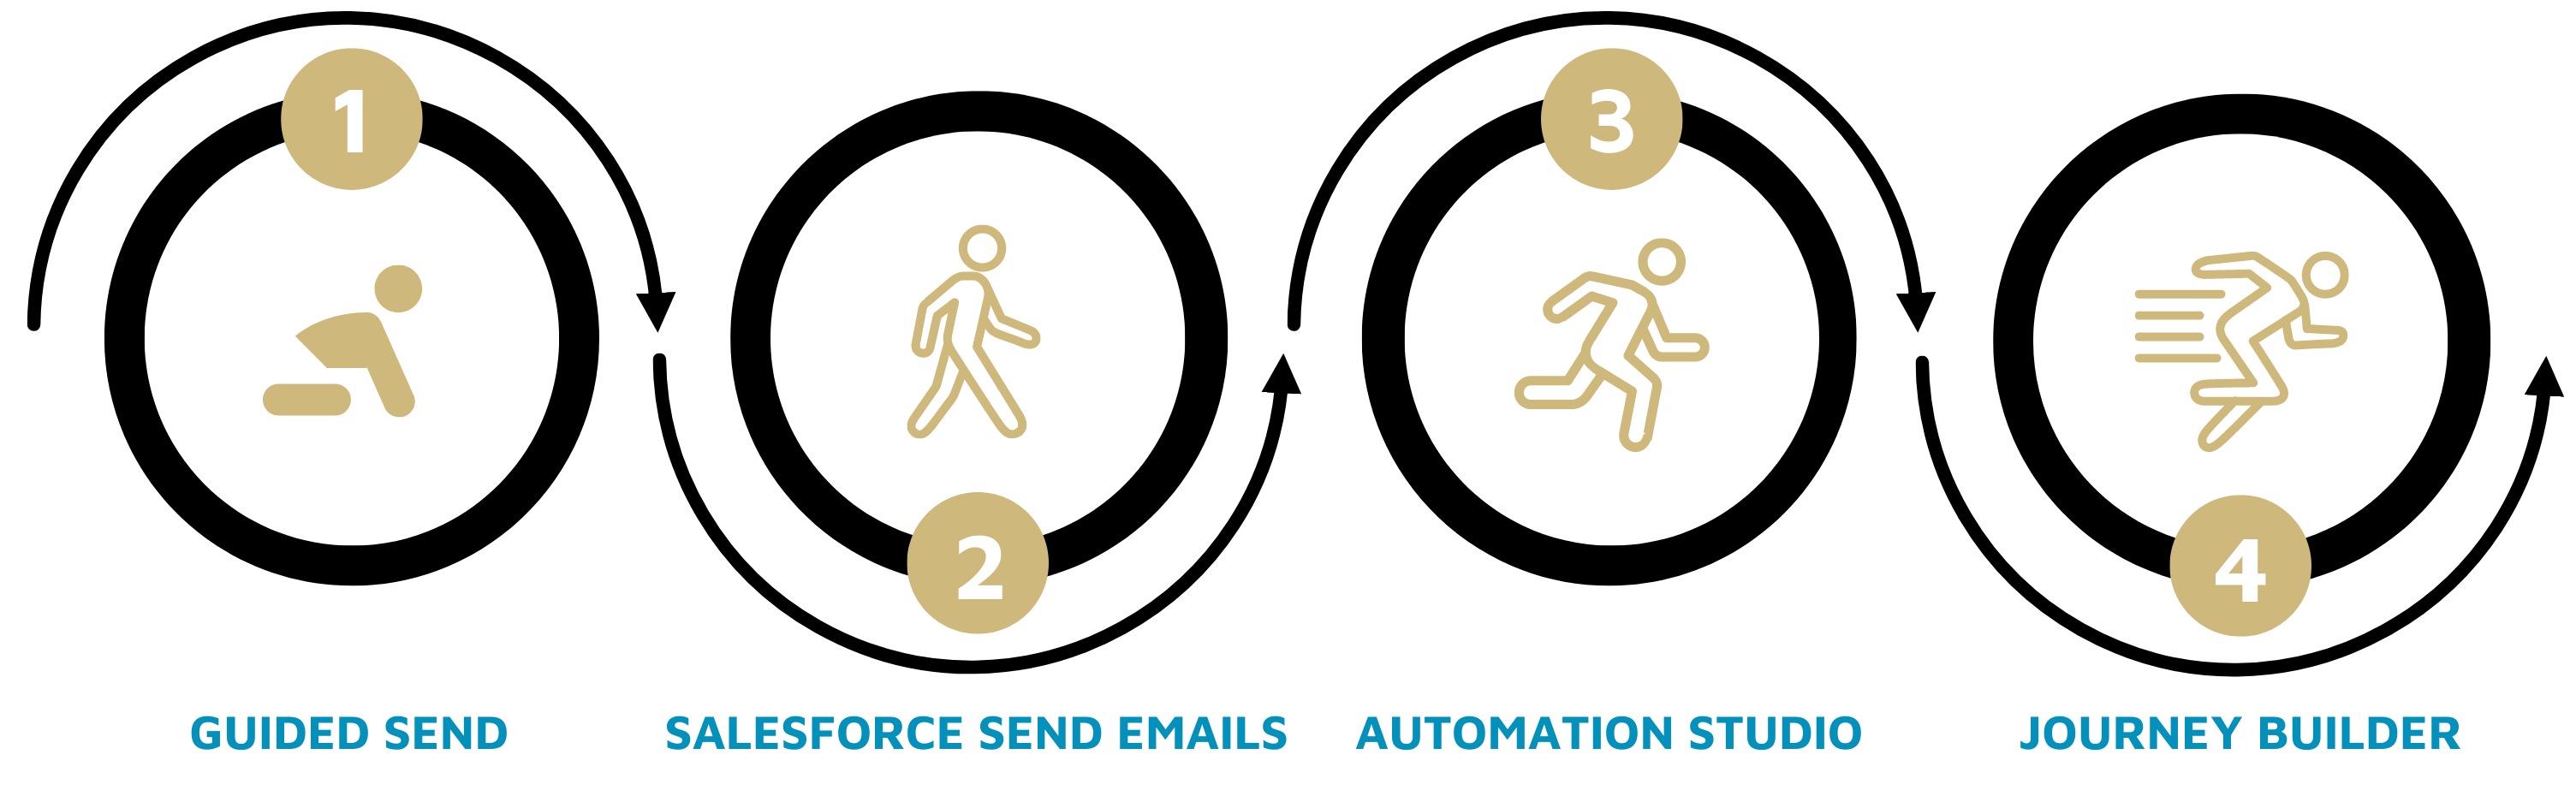
1 | Guided Send
Guided Send has a sleek interface and is the most intuitive sending method. New users are encouraged to leverage this route as they learn Marketing Cloud initially.
Guided Send Checklist | 2-Page Quick How-To
2 | Salesforce Send Emails
Salesforce Send Emails are the original method of sending emails, without the sleek interface. This method opens the door for efficiency and minimizes room for error. Users are encouraged to adapt to this method of sending as soon as possible.
Navigate to Salesforce Send Emails
- Hover Email Studio in the top left of the navigation >> click Email in the dropdown
- Hover Interactions in the top navigation>> Select Salesforce Send Emails >> Click the Create button

Create a Salesforce Send Email
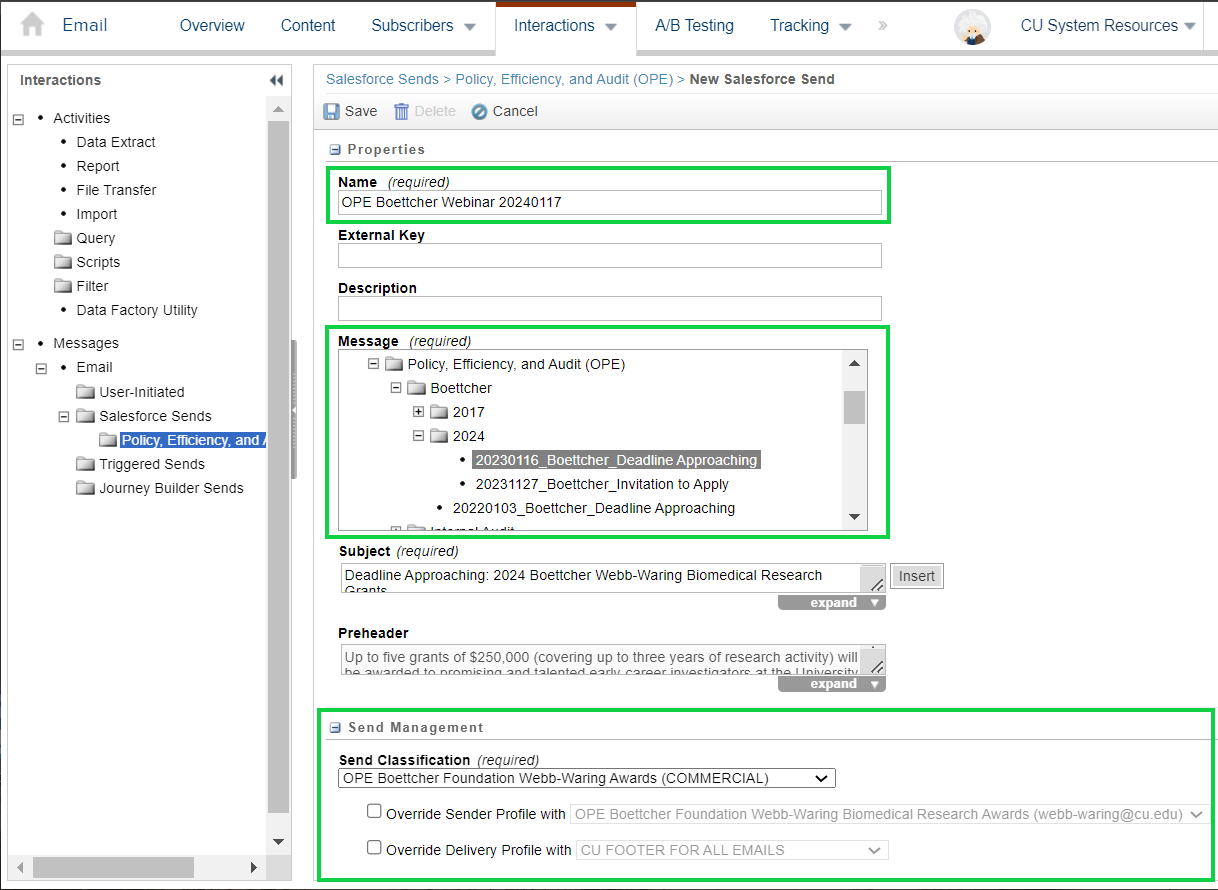
Properties
- Select the Create button at the top
- Name | Provide your email with a descriptive name - this will only be seen by you.
- Message | Select the message content you want to deliver
- Subject Line & Preheader | Confirm you are happy with these two elements
From Information or Send Management
- Send Classification | A combination of the Sender Profile and Delivery Profile.
- Sender Profile | The friendly name and email address your message comes from. This can be overwritten from what is automatically selected by the Send Classification.
- Delivery Profile Email | Commercial emails use CU FOOTER FOR ALL EMAILS. Those with Transactional send needs will have an alternative Delivery Profile (and Send Classification).
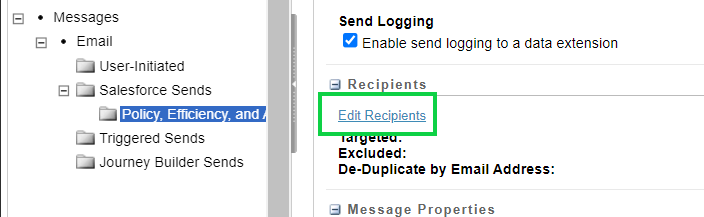
Recipients
Important! Regardless of how you send, you MUST 'Start' your Data Extension(s) before every send for the audience to be updated and accurate.
Select Edit Recipients
Select Recipients -
- Targeted
- Your audience might be a Salesforce Report(s) or a Salesforce Data Extension(s). You will NEVER include a Campaign.
- You cannot combine Reports with Data Extensions.
- Read the name carefully. View your report(s) in Salesforce to see a full audience description.
- Excluded (optional) | Audiences can be excluded from a send (based on Subscriber ID).
- If the Targeted audience includes Data Extensions, Data Extensions can be Excluded.
- If the Targeted audience includes Reports, Reports and/or Campaigns can be Excluded.
- Select Save to confirm the audience(s) you selected

Save New Email Send
- Confirm the recipients
- Select the Tracking Destination Folder
- Select Save
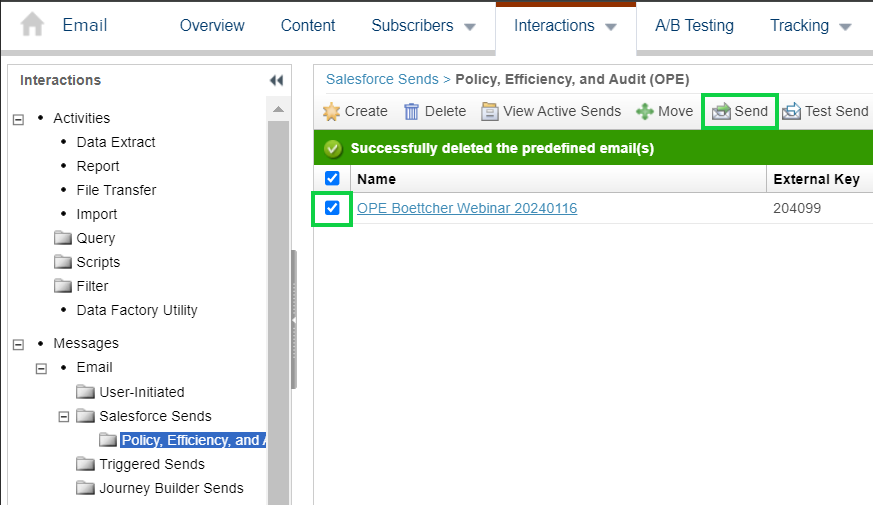
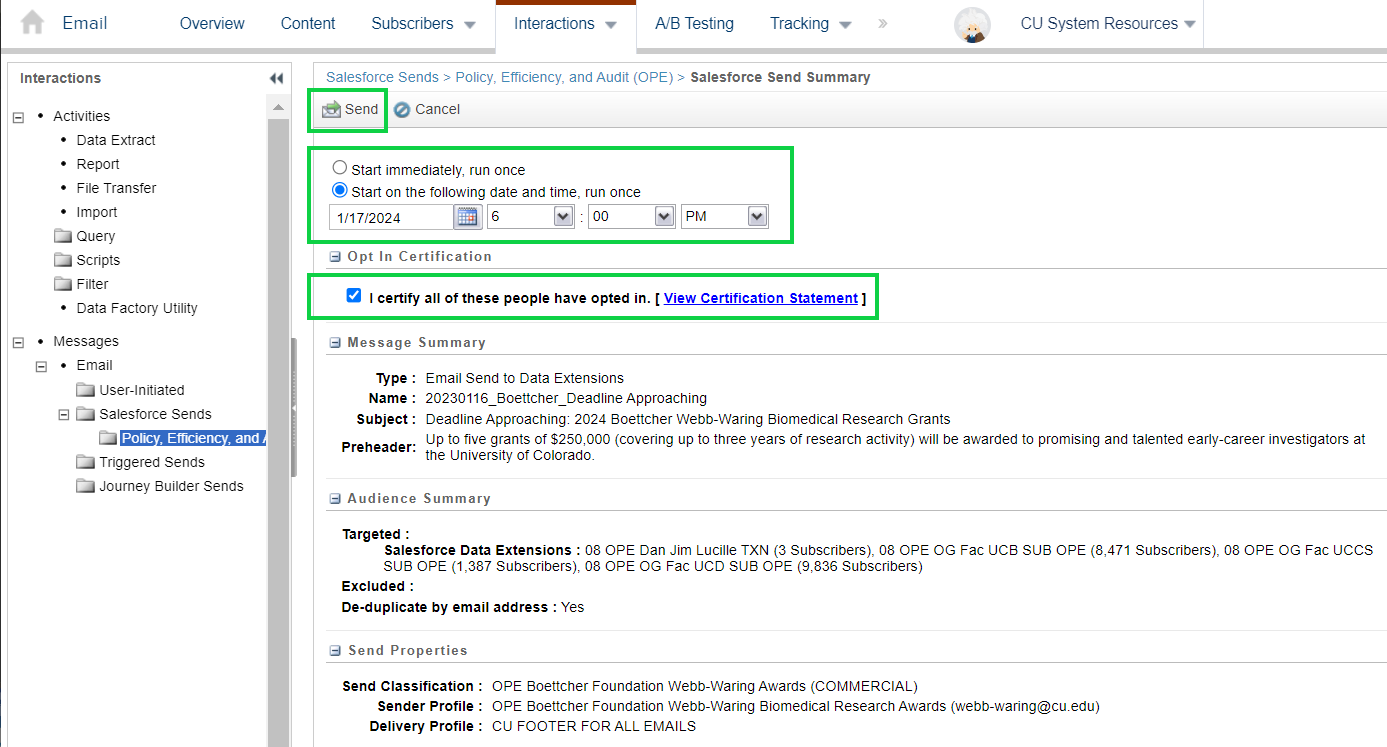
Send Email
- Check the box next to the email send name
- Select Send Email
- A new window will appear.
- Please review all the information to confirm it is accurate.
- Send or Schedule when the email will be delivered to your audience
- Check the box next to ‘This Information is correct and this email is ready to send’.
- Select Send Email across the top
Print Salesforce Send Tutorial
For many Marketing Cloud users, sends are recurring, meaning the email content will change, but other elements, such as the audience, from information, tracking folder destination, and more, remain the same. Re-using a send is efficient and minimizes room for error compared to a send created from scratch. Good candidates for re-using a send include a newsletter (any frequency), event invitations, updates/alerts, and more. Once identified, review all the email details to confirm the accuracy of the previous send, then:
- Rename the send
- Select the new email content (after being finalized).
- Review the audience. If Data Extensions, successfully re-run them before sending the email.
- Send/schedule Email
Convert Previous Guided Send to Salesforce Send Email
- Rather than creating a Salesforce Send Email from scratch, use a Guided Send from before.
- Rename the send to something you and your team understand, rather than the random combination of characters it originally got.
3 & 4 | Automation Studio & Journey Builder
Automation Studio is a more robust function that can be used to execute a defined task, either manually or automatically, on a regular cadence. Most often, it's used to run Data Extensions in combination with Salesforce Send Emails. This advanced option is supported by an eComm specialist, only in cases that make sense.
- Scheduling Data Extension Imports in Automation Studio
- Scheduling Salesforce Send Emails in Automation Studio (not currently available)
- Users cannot Send Emails via Automation Studio at the moment. If you wish to schedule an email to Data Extension audiences well into the future, you should follow the instructions for scheduling Data Extension Imports in Automation Studio, then schedule your email to send in the future via Email Studio. We hope to make the process available to all users in the future (date not determined).
- Organizing Your Work for Ongoing Automation Studio Sends
If you have a series of emails that you've been able to send, it might be a good candidate for a Journey. Journeys require ample planning, finalized content well in advance, and a solid technical understanding to be successful.
| PROS | CONS | |
|---|---|---|
| SALESFORCE SEND EMAILS |
|
|
| GUIDED SEND |
|
|