All UIS enterprise and business applications are in service at this time.
Service Status: Green
05 - UIS RSS All Clear
All UIS enterprise and business applications are in service at this time.
Service Status: Green
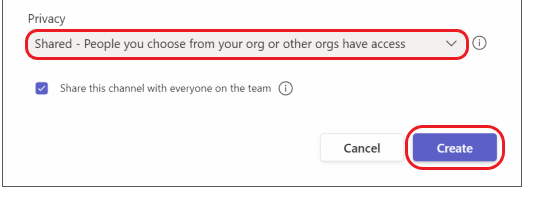
Shared channels in Microsoft Teams create collaborative spaces. Only members of the shared channel can see, access and participate in the channel. You can invite peers from CU Anschutz, CU Boulder, CU Denver, UCCS and/or CU System to participate.
While colleagues from CU campuses can be invited to standard Teams as guests, they have to switch to a different tenant to access their CU System Teams There is no need to switch tenants when using a Shared Channel.
Note: The shared channel lives inside a parent Team and cannot move to a different Team once created. It also cannot be converted to a standard channel. Only a team owner can create a shared channel, and they then become the channel owner with the original Team now the parent Team to the shared channel.

Note: When posting, be sure to use the Shared Channel to reach all members rather than the General one. They may have the same members, but campus participants are more likely to see notifications for a Shared Channel since it does not require switching tenants.

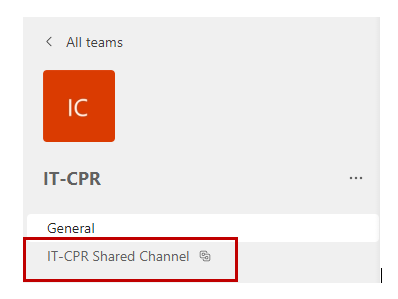
You can recognize a Shared Channel by the icon after the name.
1800 Grant Street, Suite 200 | Denver, CO 80203 | Campus Mail 050 SYS
CU Help Line: 303-860-HELP (4357), E-mail: help@cu.edu | Fax: 303-860-4301
Add new comment