


Categorized in:
Create or Update Salesforce Campaigns
July 21, 2026 by m.essa
In IOS we have three different types of campaigns. The first step in creating a campaign is selecting the record type.
NOTE Please search available campaigns before creating a new to ensure that you are not making a duplicate.
Campaign Record Types
- Event: This record type is used when uploading a list of attendees from an in-person or virtual event.
- Email: This record type is used when creating an audience for a specific email or series of emails.
- Marketing: This record type is used to broadly group marketing campaign efforts.
Campaign Naming Conventions
- Campaign Name: [Campus Code] [Customer] [Customer Function/Area/Program] [Date] [Name/Description]
- Campus Code is a two digit name representing the campus on which the campaign was created
- 01 = Boulder, 02 = Anschutz, 03 = Denver, 04 = Colorado Springs, 08 = System, 09 = Advancement
- Customer is the abbreviation for the group that owns the campaign. That could be a school, college, program or department
- SOP = School of Pharmacy, CON = College of Nursing, ODL = Office of Digital Learning, ONL = Online Office
- Others may be added as needed
- SOP = School of Pharmacy, CON = College of Nursing, ODL = Office of Digital Learning, ONL = Online Office
- Customer Function/Area/Program represents the specific area supported by the campaign. That could be a program, a degree level, or something else
- Examples: PharmD = doctorate program for School of Pharmacy, PallCare = Palliative Care program
- Date is the when the campaign launched, or when the journey was activated
- Please note that new versions of existing journeys don't necessitate an update to the date in the campaign name
- Description is a short description of what the campaign is
- Examples: Evergreen journey, RFI journey, information session webinar, event attendee list, etc.
- Examples of how this syntax may look:
- 02 ODL CPP 072126 RFI Journey
- 02 SOP PharmD 061426 Evergreen Journey
- 03 ONL ALL 042506 Recruiting Event
- Campus Code is a two digit name representing the campus on which the campaign was created
Create Campaign
In our Salesforce environment, we already have thousands of Campaigns. For that reason, it is most common to clone an existing Campaign. Note that a cloned Campaign does not clone the members of that Campaign or the shared settings.
- Navigate to the Campaign
- You could search for the Campaign with the Global search at the top
- You could navigate to the Campaigns tab if you recently viewed the Campaign
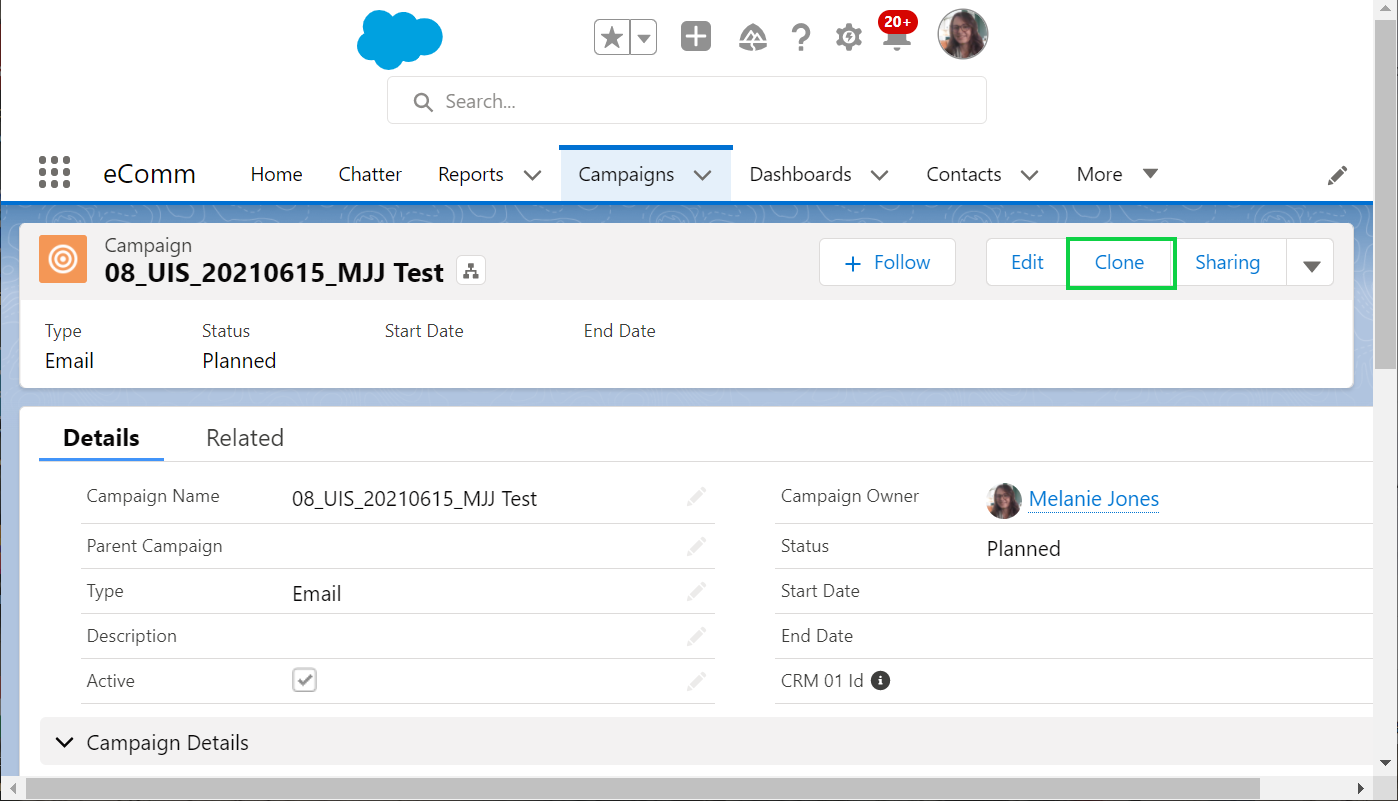
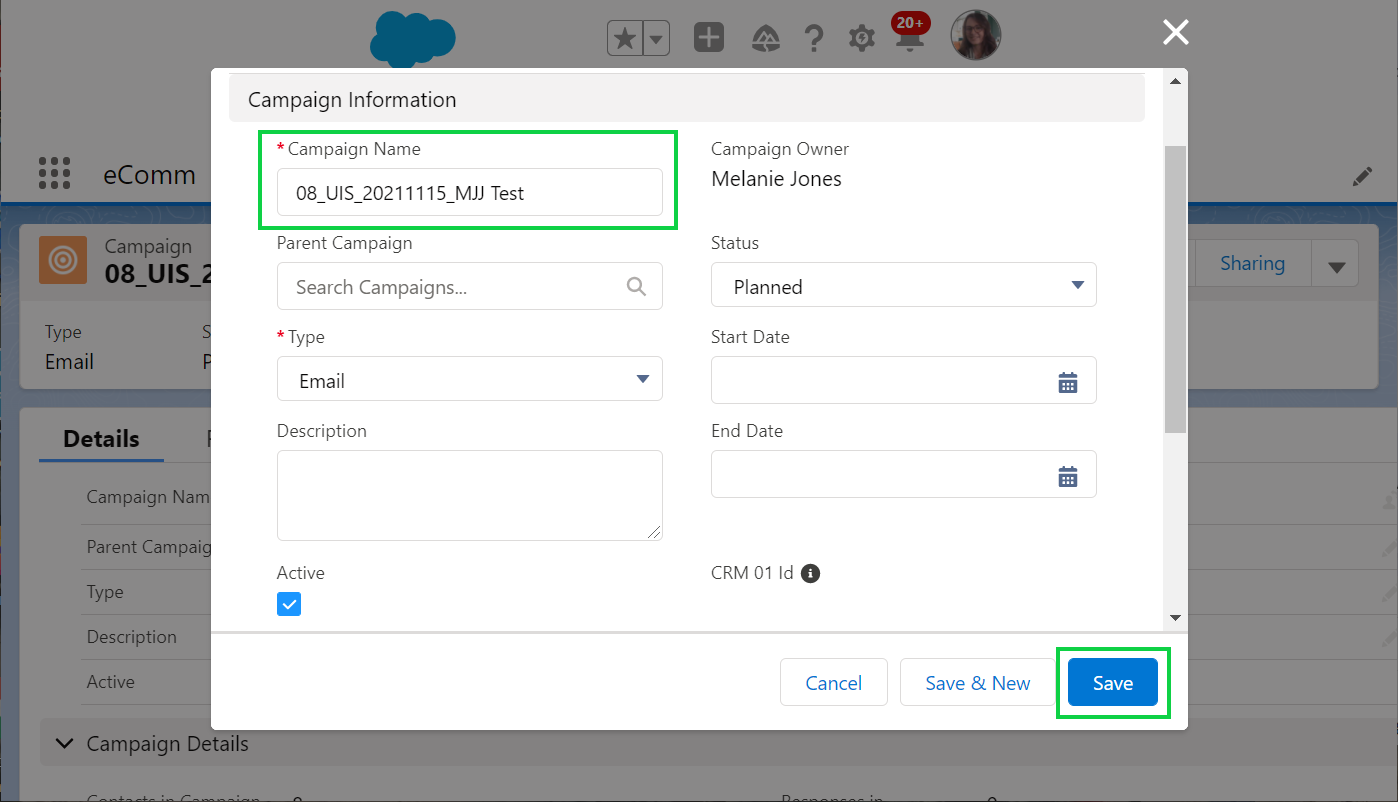
- Modify the name of the Campaign
- Ensure
- Type=Event, Email or Marketing
- Active=Checked
- Status=Planned, In Progress, or Complete
- Click the blue Save button
- Select Campaign in the top navigation
- Click New in the top right corner
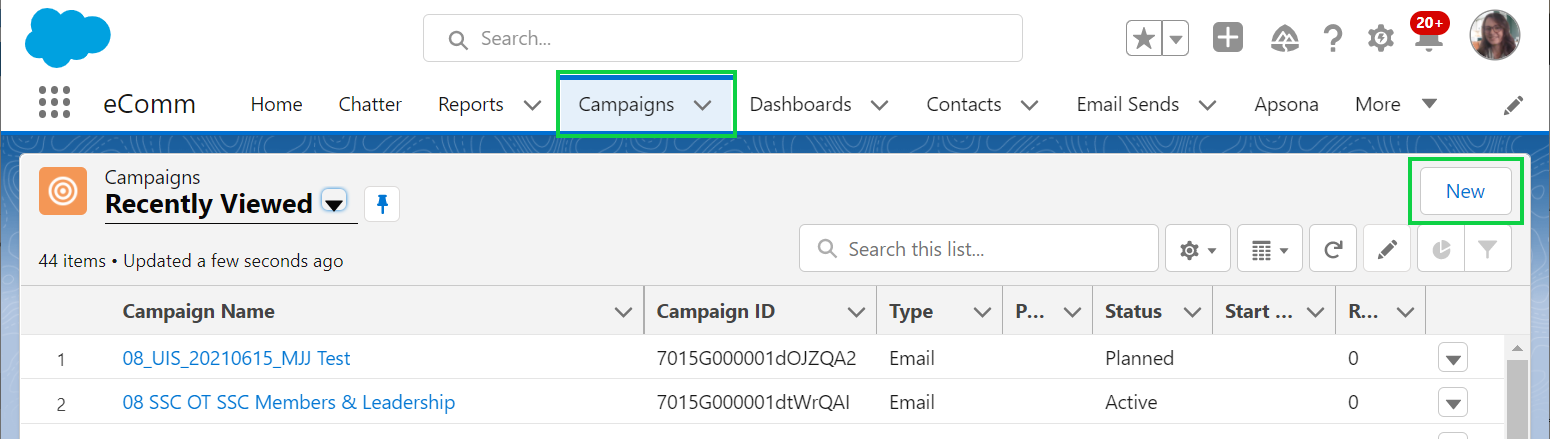
- Event is set by default, please select the record type most relevant to your use.
- Select the blue Next button in the bottom right
- Enter the Campaign Name
- Click Active checkbox
- Select Campaign Type
- Add additional information to the Campaign, like Description and Start/End date.
- Select Save, the blue button in the bottom right