Categorized in:
Add or Update Dashboard Filters
April 3, 2024 by m.essa
Adding Dashboard Filters
- Navigate to the Dashboard to which you wish to add filters too
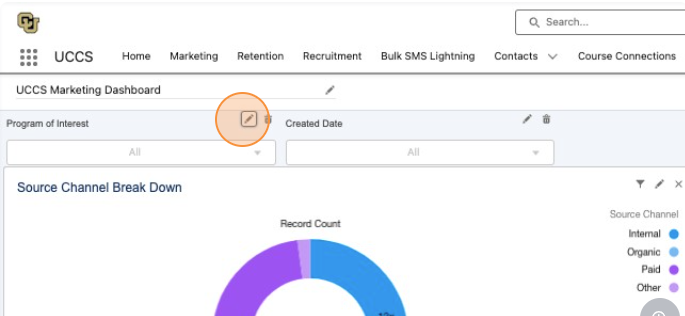
- In the top right corner, click Edit
- Click + Filter to add a new filter to your dashboard.
- From the Field dropdown, select a field to filter on. The dropdown shows fields that can filter all the dashboard's widgets.
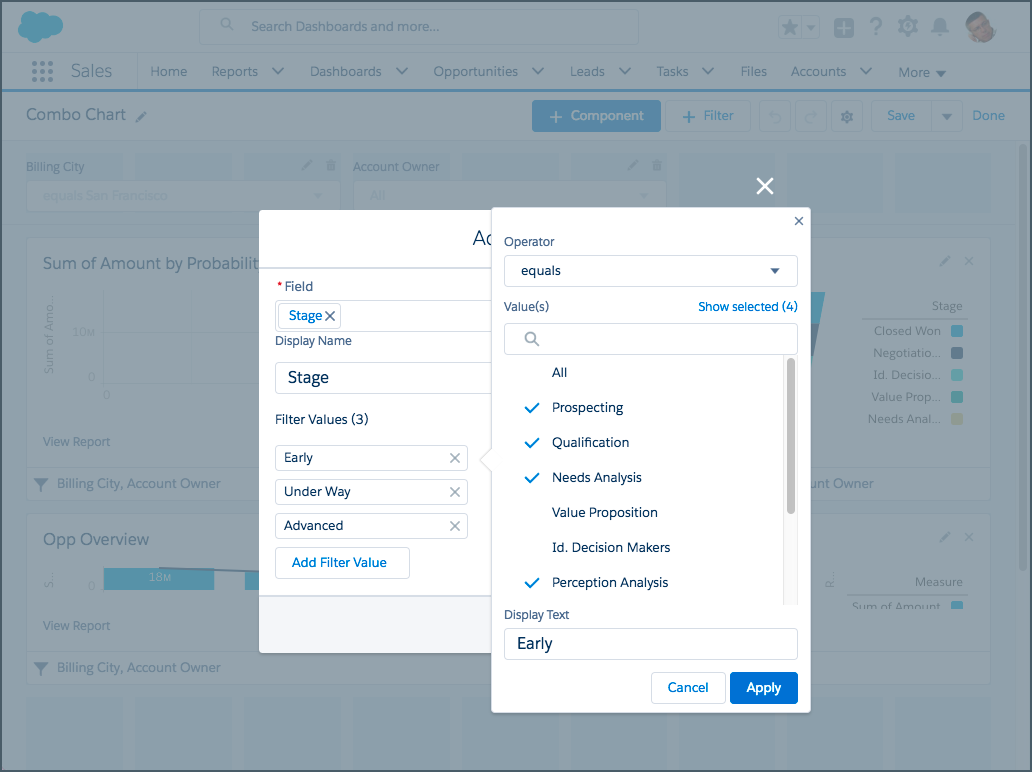
- Assign Values to the Filter by clicking Add Filter Value, choose an operator, and set a value. Optionally you can modify the custom display text.
- Click Apply
- Click Update
- Save the dashboard and close the dashboard builder
Note If you create a filter on a text field using the equals operator, enclose any filter values that include a comma in double-quotes. For example, instead of Acme, Inc, enter the filter value "Acme, Inc".
Updating Dashboard Filters
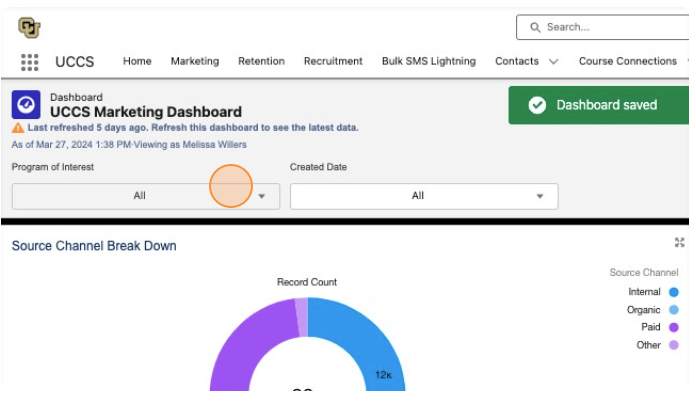
If your dashboard has existing filters, they will live in the dashboard's header.

- To edit any filter on an existing dashboard, follow steps 1 and 2 from above.
- Click the pencil icon next to the filter you would like to edit.
- You will now have the option to update the filter you are editing. For example, you may add new programs to a "Program of Interest" filter.
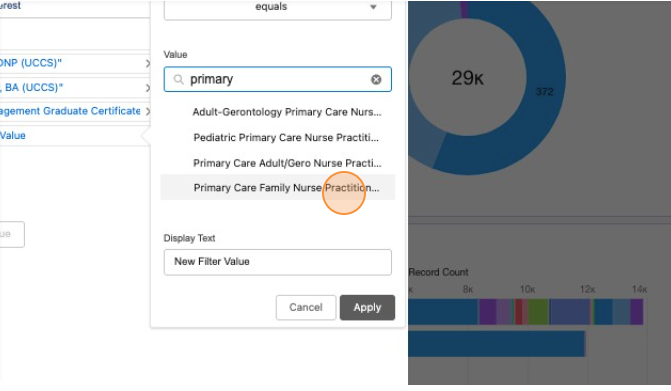
- Click Apply, and Update.
- Save your dashboard and exit the builder.
You can confirm that your filter saved as expected once you exit the builder. Click into your filter to ensure your new value is available, or your results are filtered as expected. Dashboard load times can be slow immediately after and update, give your page enough time to load to confirm your results.