


Marketing Cloud Text Block Tips
Creating a good looking email in Marketing Cloud is one thing, but ensuring it displays well across inboxes is a greater challenge. Learn to apply three best practices when using text blocks to have confidence in how it renders for recipients.
Paste 'Clean' Text
Text is often copied from one application and pasted into a Marketing Cloud text block. While the theory is sound, the details in your approach are critical to having a quality email delivered across inboxes. There are a few different methods to ensure formatting from the original application isn't included in the email by mistake.
1 | Paste from a text editor like Notepad (not Word, a website, etc)
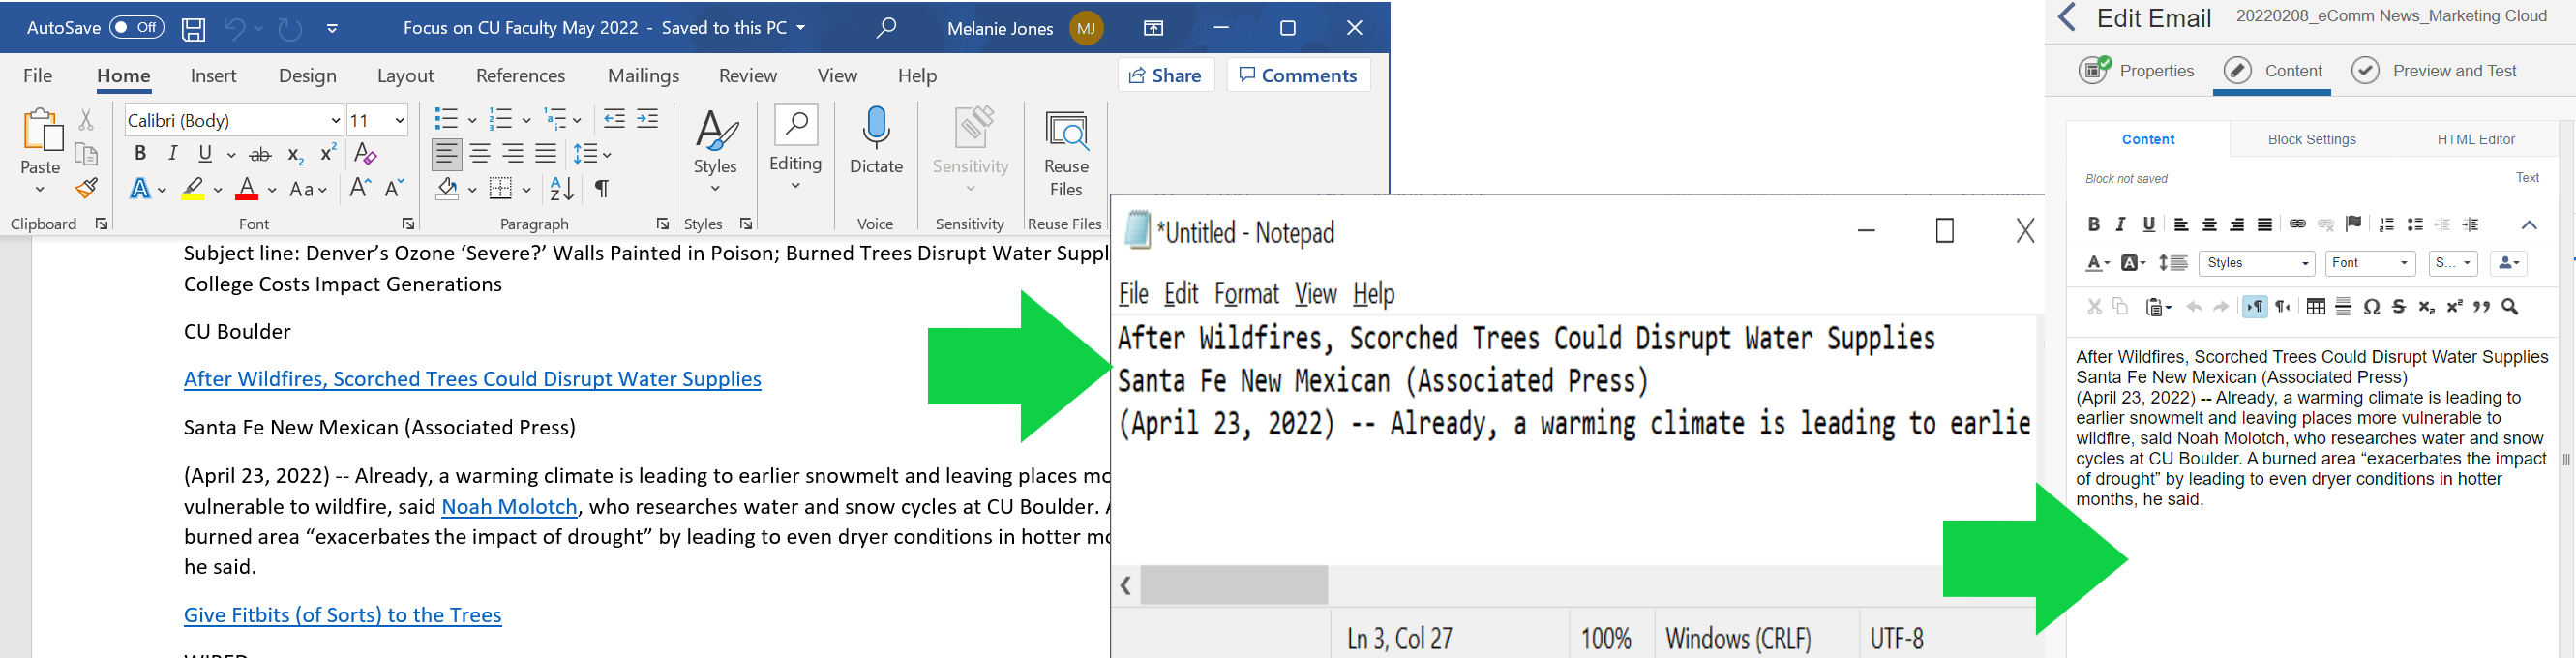
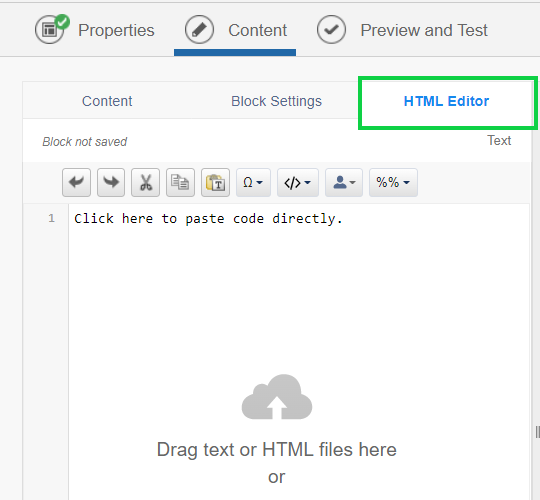
2 | Paste into the HTML Editor
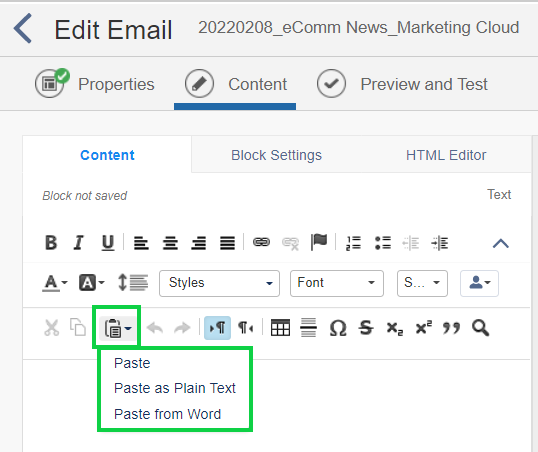
3 | Paste as Plain Text or Paste from Word
Set Font In Every Text Block
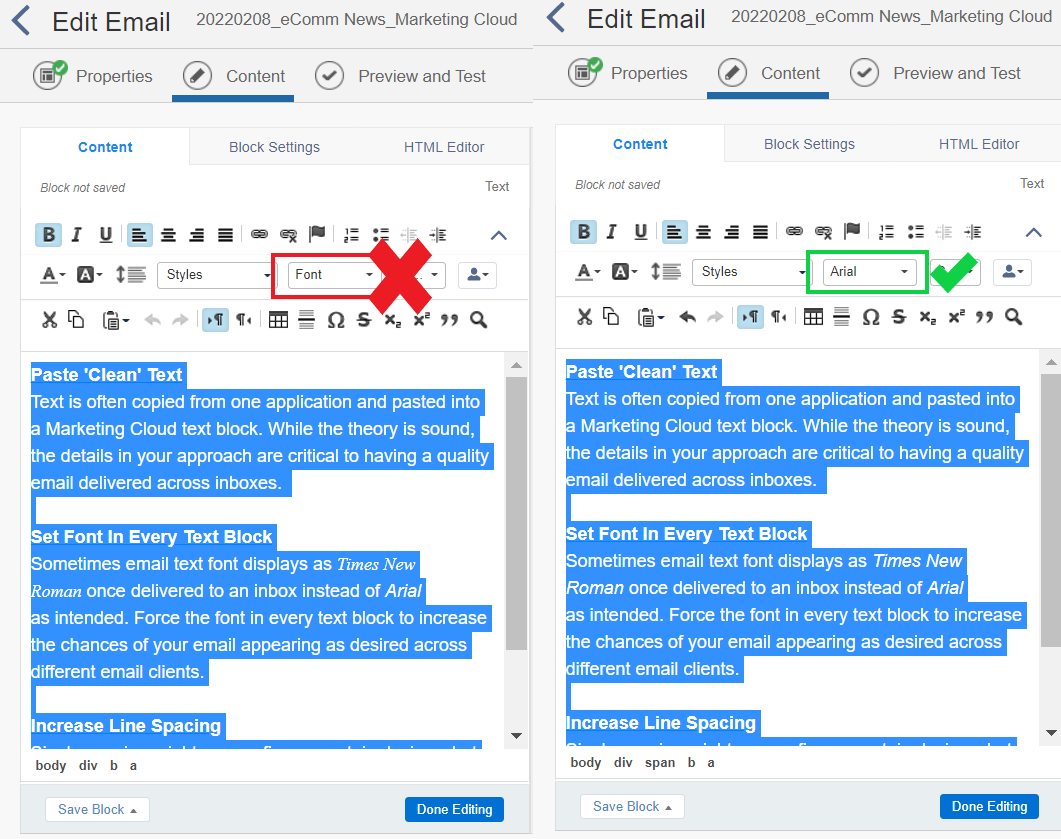
Sometimes email text font displays as Times New Roman once delivered to an inbox instead of Arial as intended. While the font appears Arial in Marketing Cloud, some email clients (versions of Outlook) need to be told twice. Force the font in every text block to be confident it will appear that way across different email clients.
To set the font in every text block:
- Highlight all the text within a text block (Ctrl+A).
- If the font style reads Font, it should be updated.
- The font should indicate a real name of a font, like Arial.
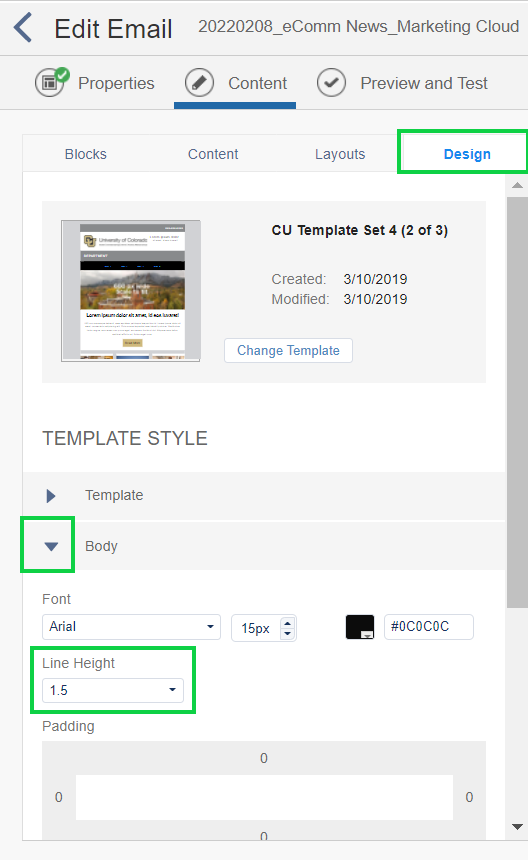
Increase Line Spacing
Single spacing might appear fine on certain devices, but on others it’s as if one line of text overlaps the next. Use 1.5 or Double line spacing to ensure it's readable on different devices.
You can apply these settings at the Design level to be carried across the entire email by default.
- Edit your email and open the Design tab
- Set the line height for each font style
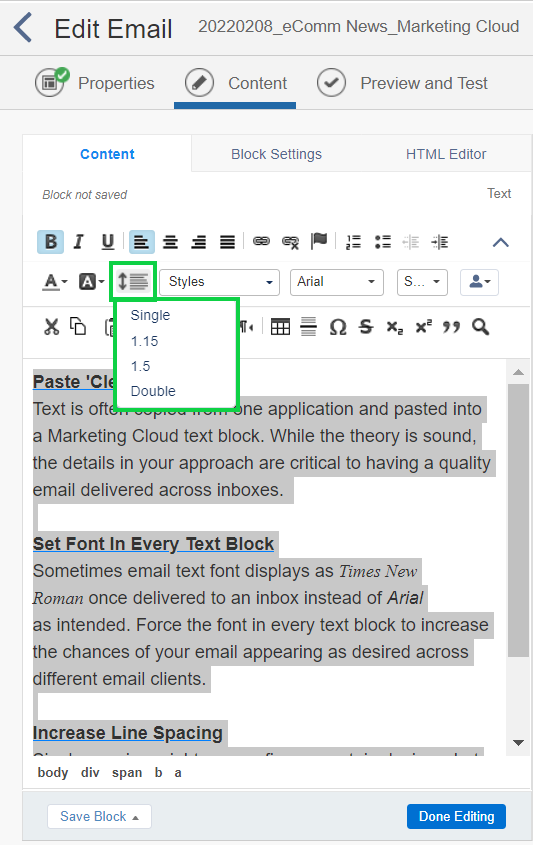
You can also change the line spacing in each individual text block.
- Edit the text block
- Highlight all the text in the block
- Set the line height
Related Content