Harris Archive Project, detailed review
April 28, 2015 eComm Town Hall
|
|
To ensure CU remains compliant with federal CAN SPAM legislation, email preference data will be migrated from Harris Connect to Salesforce. However, all other data and content (such as queries, content, images, reports, etc.) that are tied to Harris Connect's tools will NOT be migrated.
We encourage you to start thinking about this process so you are prepared for a smooth transition from Harris Connect to Salesforce. If you would like to archive emails and/or forms that you've built, please refer to the how-to guides below.
We're here to help. Please reach out to your eComm specialist if you have questions or need additional support.
Email Marketing
Any lists that have been created or uploaded in Harris Connect will not automatically migrate to the new Salesforce platform.
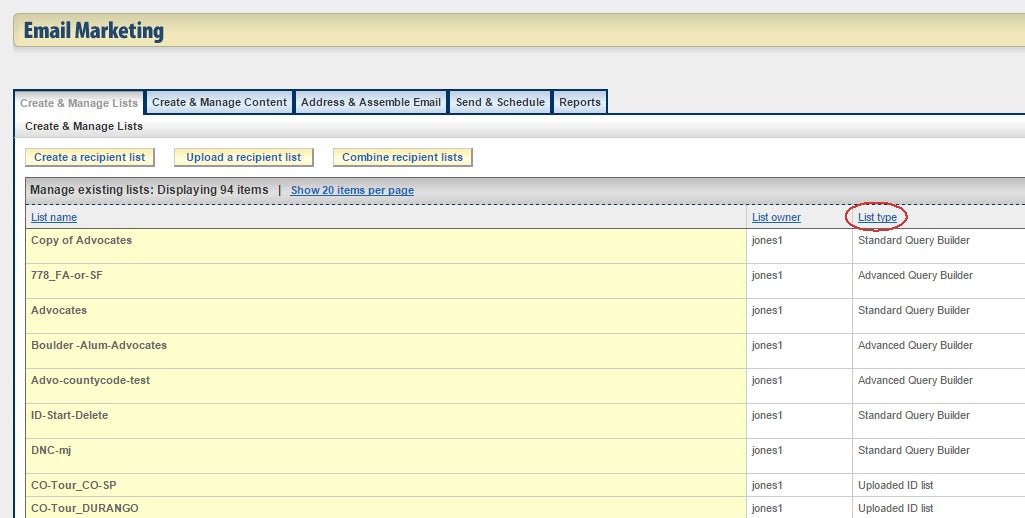
If the ‘List Type’(see image) reads ‘Advanced Query Builder’ or ‘Standard Query Builder’, that list will need to be recreated in Salesforce. In order to make this transition as seamless as possible, you will need to take a screenshot of the query for your records.
Lists that need to be archived include ‘List Type’(see image) of ‘Uploaded Email List’ or ‘Uploaded ID List’. These will need to saved locally and imported into your Salesforce account.
Detailed Instructions for Exporting 'Uploaded ID List' and 'Uploaded Email List'
- Log in to your Harris Connect account (contact your eComm specialist if you need credentials)
- Navigate to 'Email Marketing' >> 'Create & Manage Lists' tab
- Once you have identified the lists that you and your department need to archive, click ‘Display’ in the ‘List Count’ column for the list you wish to archive. *NOTE: Depending on the size of your list, this could take up to 2 minutes to display
- A popup will appear. Click inside any cell, then select all by using the keyboard shortcut CTRl + A
- Paste this information into an excel spreadsheet
- Save as a.CSV file with a relevant naming convention.
It is your responsibility to ensure your graphics and content are archived locally in order to be uploaded into Salesforce. This includes any files uploaded in ‘file manager’ or created in ‘Create & Manage Content’.
[infobox title="Detailed Instructions"]
- Within the ‘Create & Manage Content tab, you can click ‘Edit’ to edit an email.

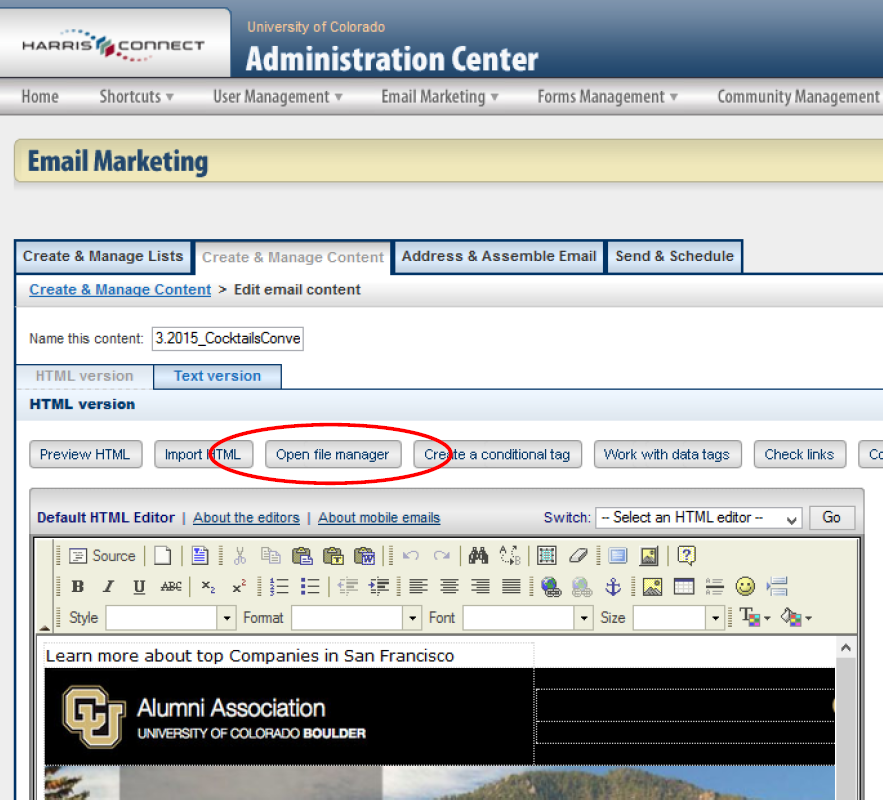
- Once the email appears for editing you can click on ‘Open file manager’.
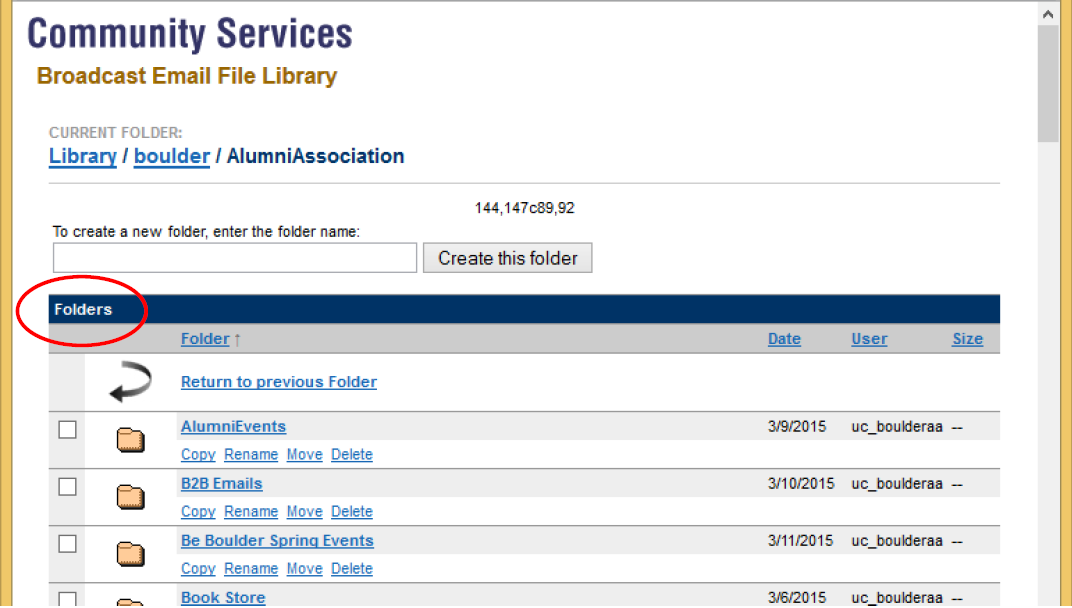
- From the Folders section, find the folder(s) where you have uploaded your images. This will open your ‘Community Services’ Broadcast Email File Library. Within this library you can navigate to the location of where you have uploaded your images.
- Once you find the correct folder, click on the folder and the files in that folder will appear below in the ‘Files’ section. You can scroll down to the ‘Files’ section to find your files (images, documents).

- By clicking on the Filename of the file you want to export, it will open another window with an image of your file. As you can see in the image below if you right click on the image it will allow you to “Save Image As”. I recommend creating a folder on your C: drive (or network drive if you prefer) label ‘Harris Images’ and saving them there. When saving images, I recommend you title
them in such a way that they describe the image and the size. (Please see Image naming convention appendix attached).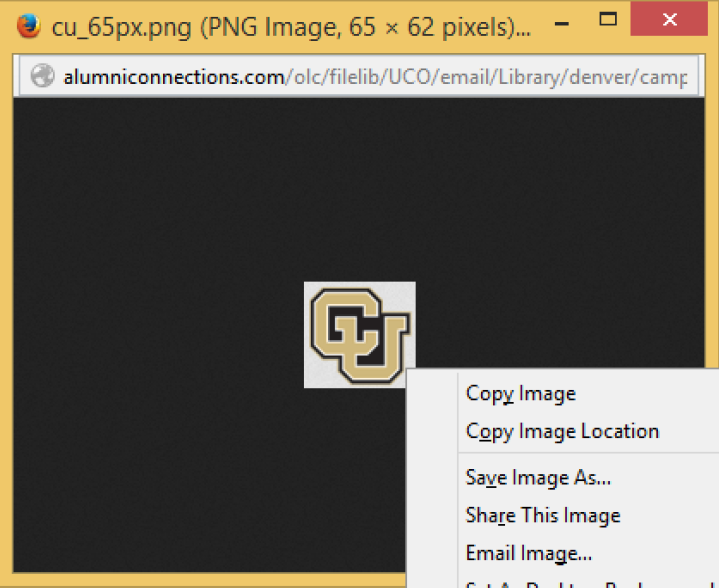
You will need to complete this exercise for all the images you are wanting to have available to load into the new system.
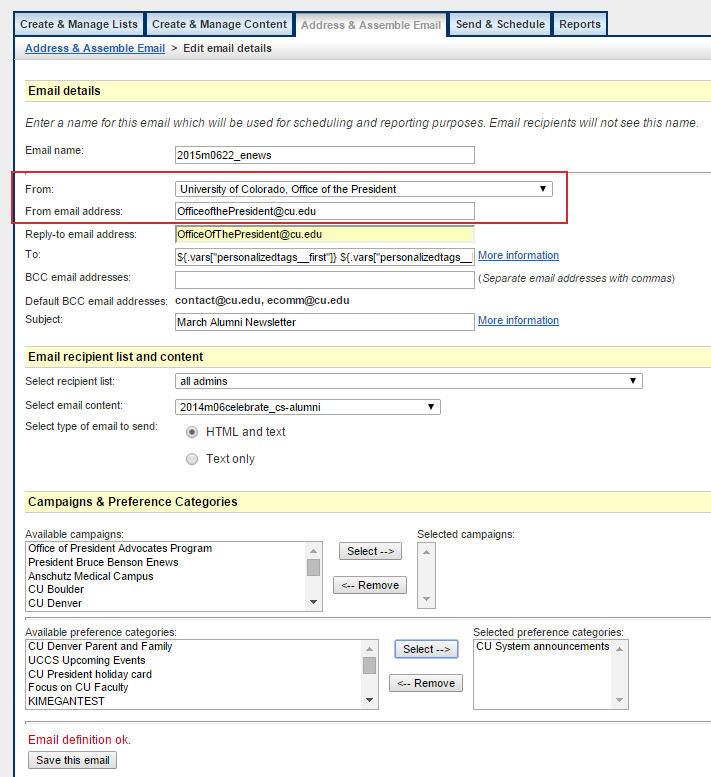

Detailed Instructions
- Navigate to ‘Email Marketing’
- In the ‘Reports’ tab, click on the ‘Email Comparison Reports’ subtab.
- In order to run a complete historical report, you will need to clear the default ‘Date Sent’ and hit ‘Apply filter’. Every email that has been sent from this account will appear.
- Click ‘Check all’ then hit the ‘Compare selected emails’ button. Depending on the number of emails you have to compare, this might take up to 5 mins.
- Once the report is ran, you can ‘Download this report’ and save locally.
Forms Management
Detailed Instructions
- Log in to your Harris Events account.
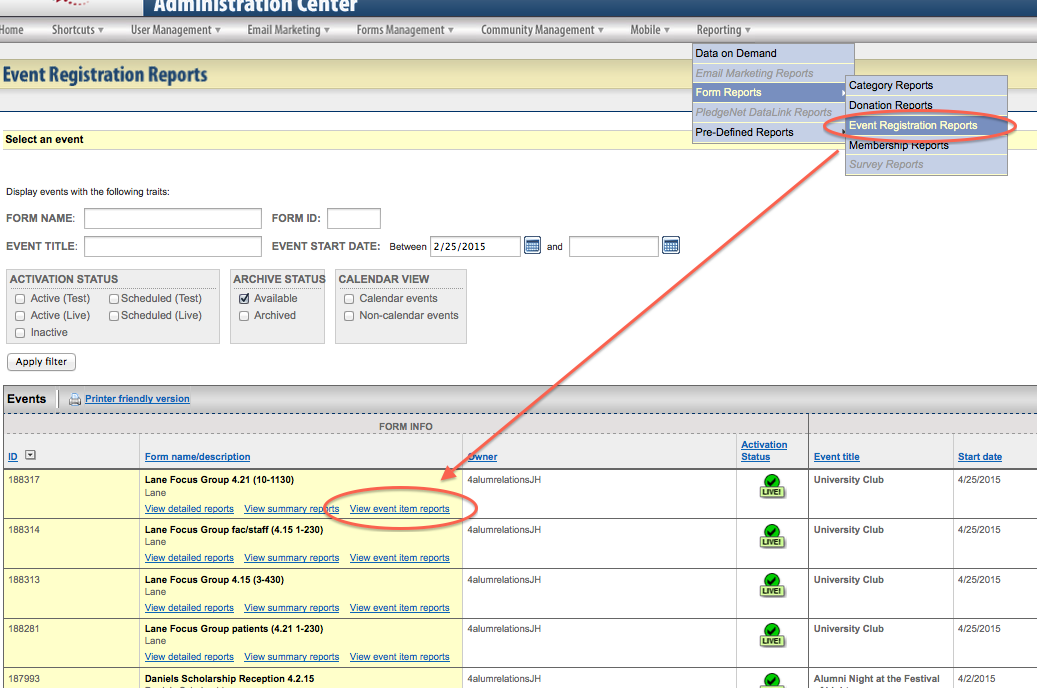
- Under the Reporting tab on the top silver navigation, hover over Form Reports, then select Event Registration Reports.
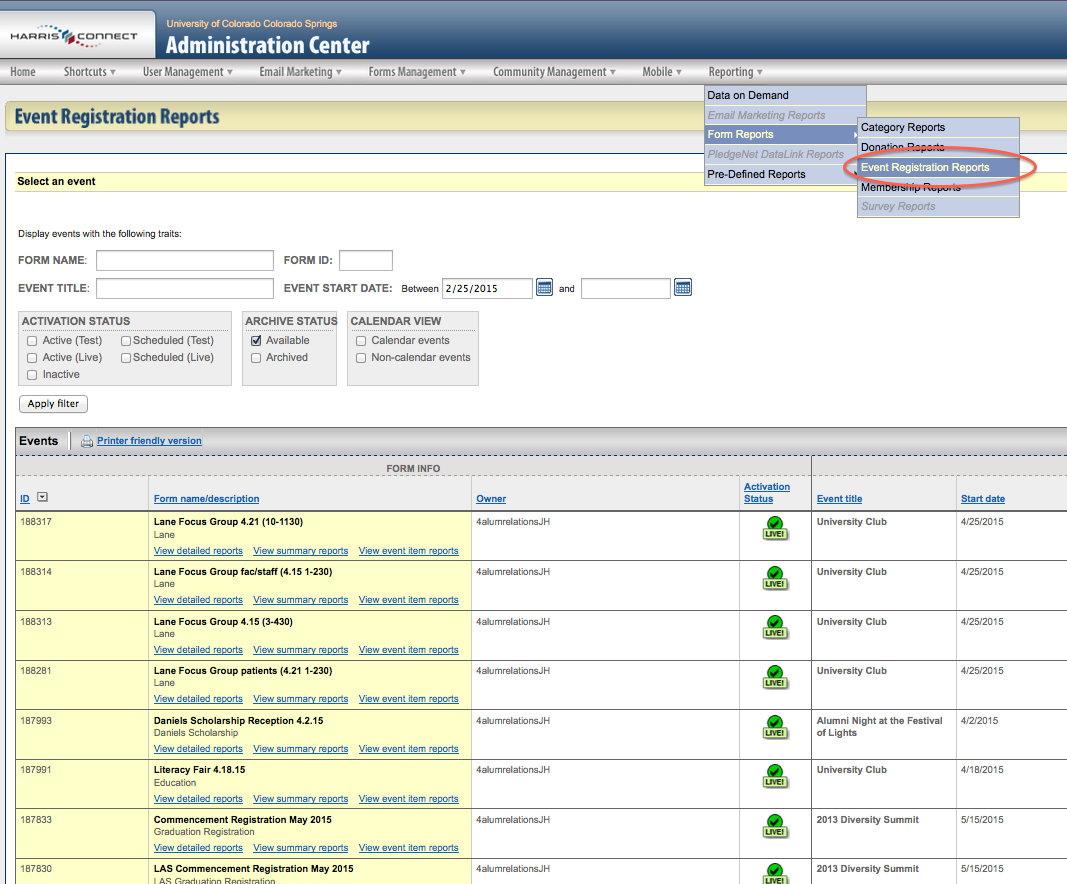
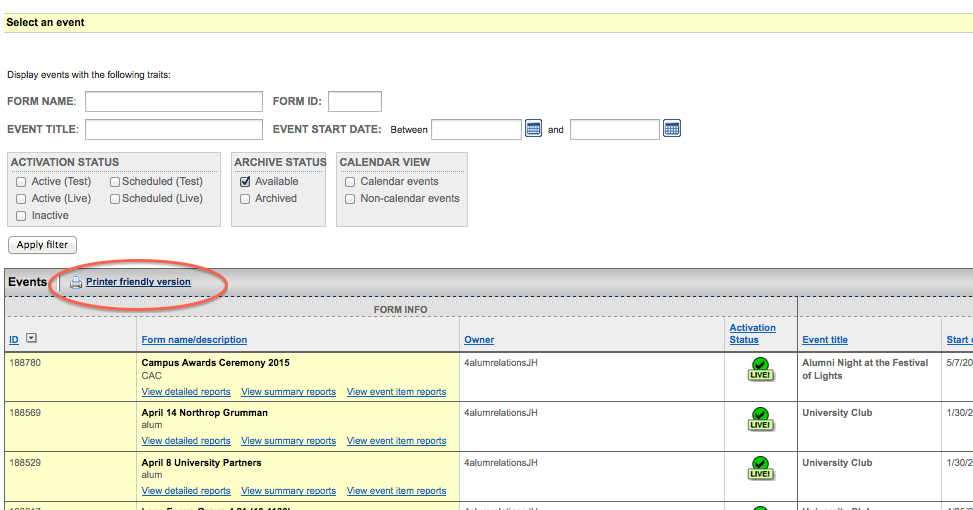
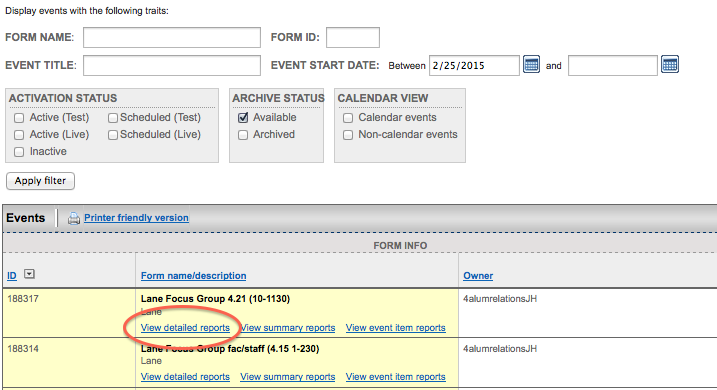
- Delete the date in the Event Start Date fields, then click the Apply Filter button. If you have archived events, make sure to click the Archived box in the grey Archive Status area as well.
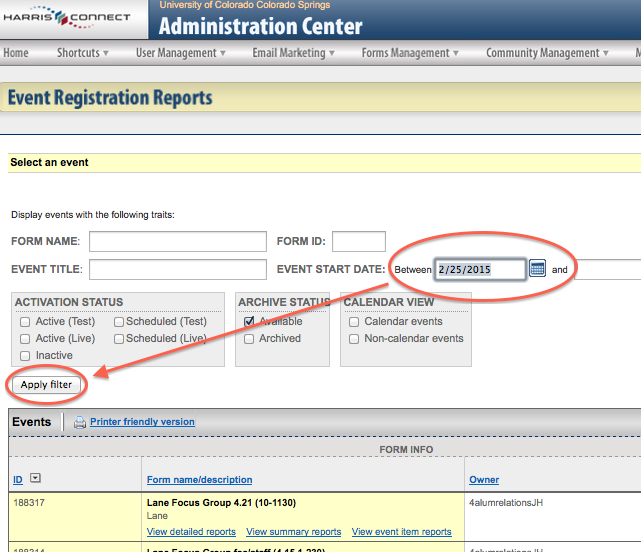
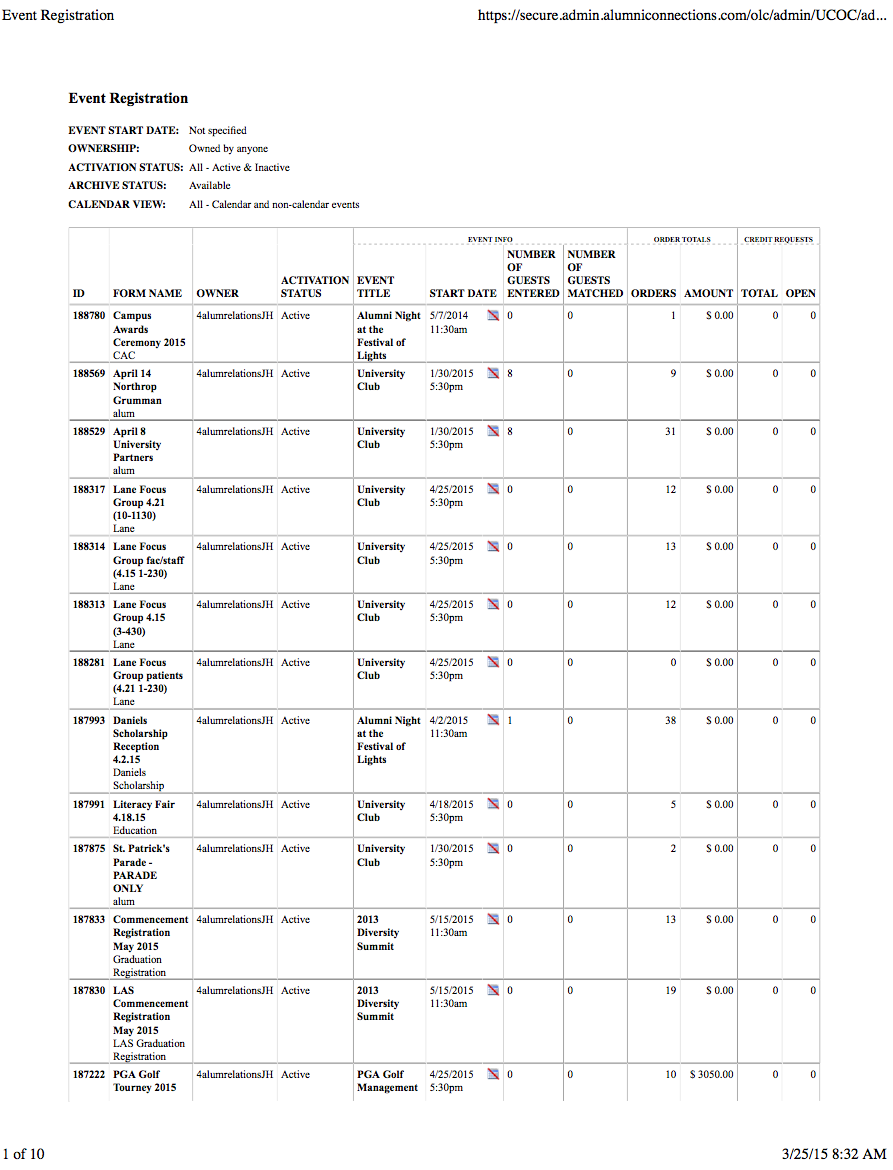
- Once the filter completes, click the Printer Friendly Version link at the top of the events list. This will allow you to print/save a PDF of all the events (Available and/or Archived) within your Harris Events account.
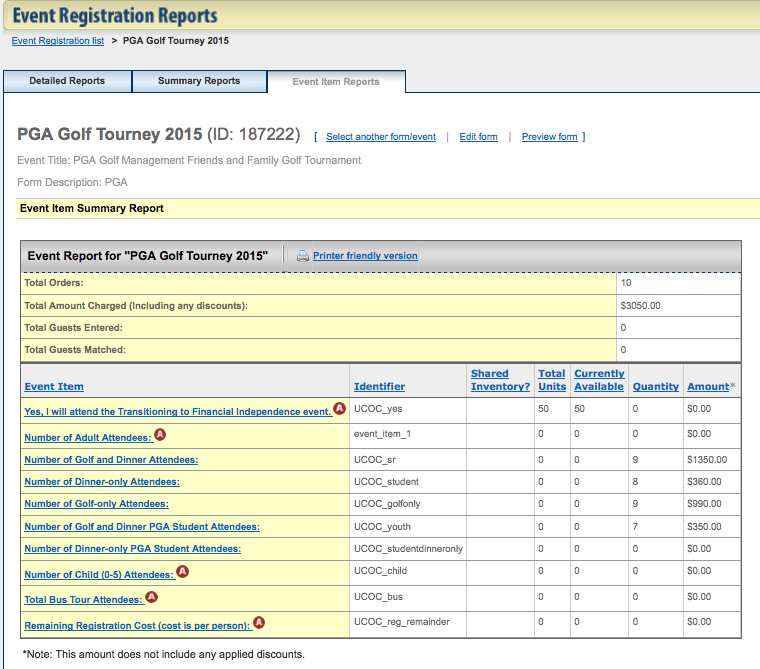
- Also in the Event Registration Reports tab, you will find the “View event item reports” under the title of each event. This will give you a quick snapshot of the event in terms of number of attendees, total money received, etc.
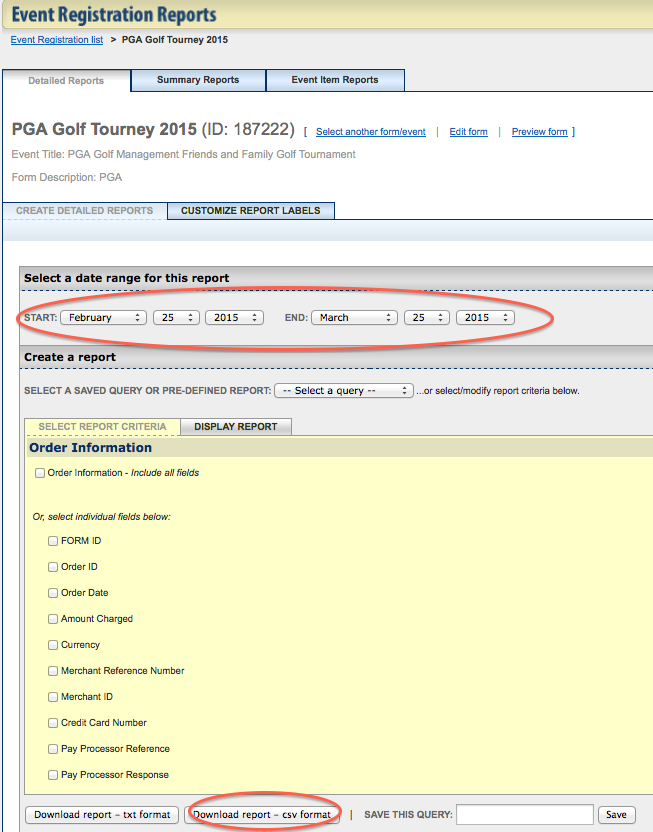
- Within each event title is also the “View detailed reports” option. This allows you to download a .csv file of all event components from the form. It will give you a spreadsheet of attendee names, etc. (whatever the form designated). Make sure to select the date range when the form was active so you get accurate information on your downloaded spreadsheet.
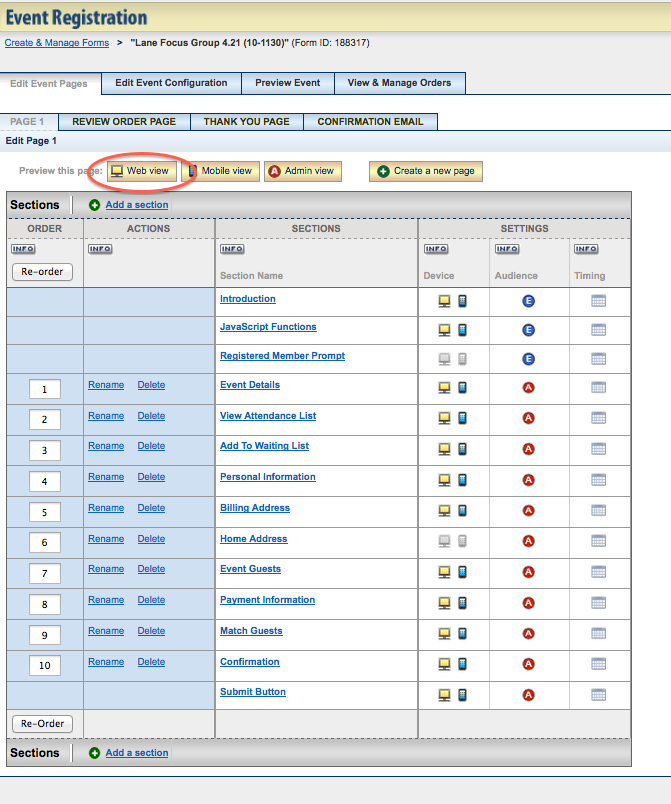
NOTE: If you need an archive of the actual form, you will need to go to that form’s url and take a screen shot of the form itself. You may also click on the event title, then click the Web View button at the top to see the form in an internet provider’s window.
