Simplify scheduling with Outlook’s Scheduling Poll [1]
For most small, one-time meetings with fewer than 10 attendees, scheduling meetings with Outlook’s Scheduling Assistant [3] is the fastest way to find a time that works for everyone.
However, if you’re scheduling recurring or large group meetings, Outlook’s Scheduling Poll makes it easy to propose multiple time options and let participants vote for what works best – eliminating the need for external tools.
Creating a Scheduling Poll
1. In the Outlook desktop app, navigate to the Calendar and select New Meeting.
2. List required attendees in the Required field and optional attendees in the Optional field, and add a title.
3. Select the New Scheduling Poll icon under the Meeting tab.

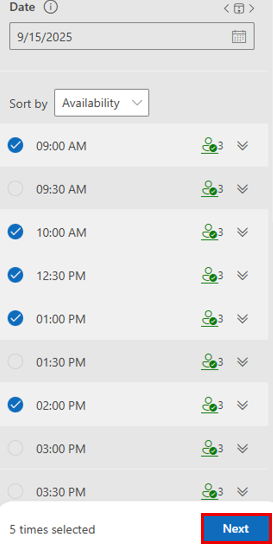
4. Select the meeting settings, including time zone, duration, meeting hours (only suggest options within work hours) and date.

5. Scheduling Poll looks through attendees’ schedules and suggests a list of suitable meeting times. Select your desired times and click Next.
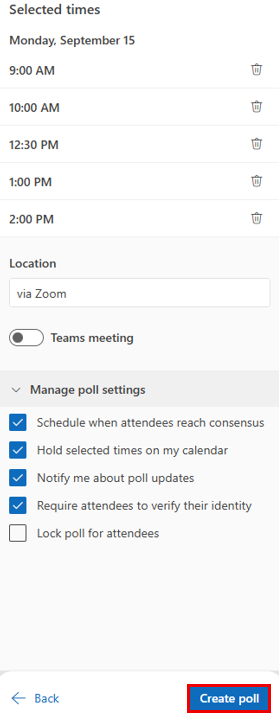
6. Confirm your poll’s details and settings, then click Create poll.
Visit Microsoft’s Create a Scheduling Poll in Outlook for Windows [4] page for more information.