Creating an "Add to Calendar" Link in a Marketing Cloud Email [1]
Many are familiar with seeing "add to calendar" links in emails. To add an "add to calendar" link to a Marketing Cloud email, follow the steps below.
Multiple 'Add to Calendar' Links Load multiple .ics files into Marketing Cloud and give them unique names (i.e 5.24 meeting 3-4 pm, 5.24 meeting 4-5 pm)
- From your Outlook calendar, create the event or appointment* you want to share with your audience. Be sure to add all of the relevant details, like the event title, location, and any special instructions.
- When a recipient clicks 'Add to Calendar' the invitation will appear to originate from whoever created it. For this reason, the event planner should create the .ics file.
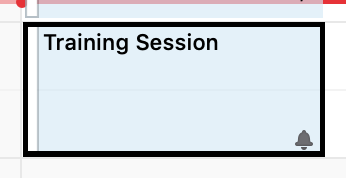
- Open the meeting or appointment.
- Click File in the top-left corner.
- Select Save As in the dropdown.
- Select "Save as type" = iCalendar Format (.ics)*
- Choose a location to save the file and give it a name, then click Save
*Unable to Save an .ics File? Some computers and browsers will not save a meeting as an .ics file. Instead, make an appointment.
- Log in to Marketing Cloud and access the email to which you want to add the calendar link.
- Navigate to the folder (if applicable) associated with that email content, and drag and drop the .ics file from your desktop into Content Builder.
- Click Upload and Publish to upload the file.
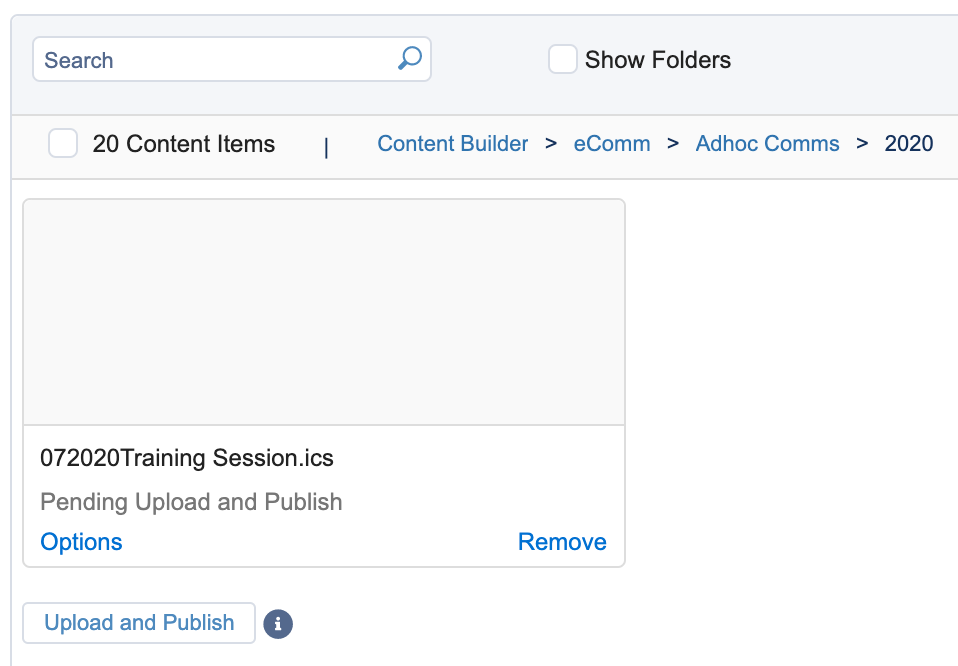
- The .ics file will be uploaded as a Marketing Cloud document.

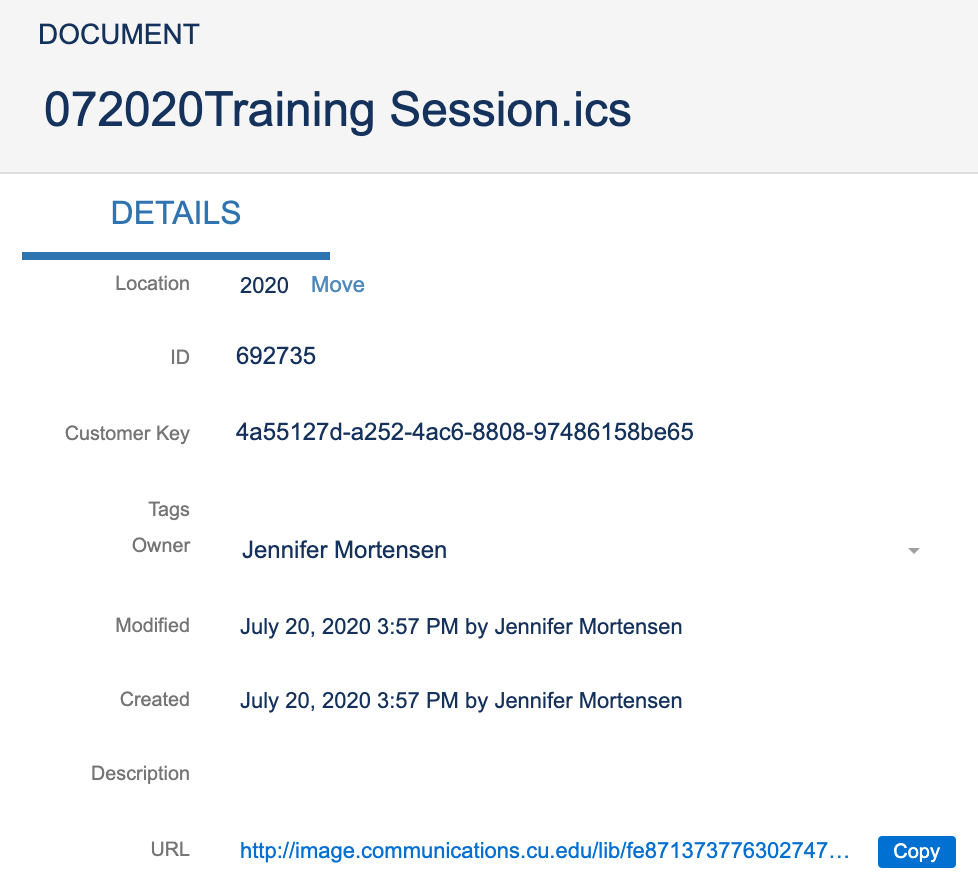
- Click the name of the document file to open it. A window will appear that contains a URL for the document. Click "Copy" to copy the link.
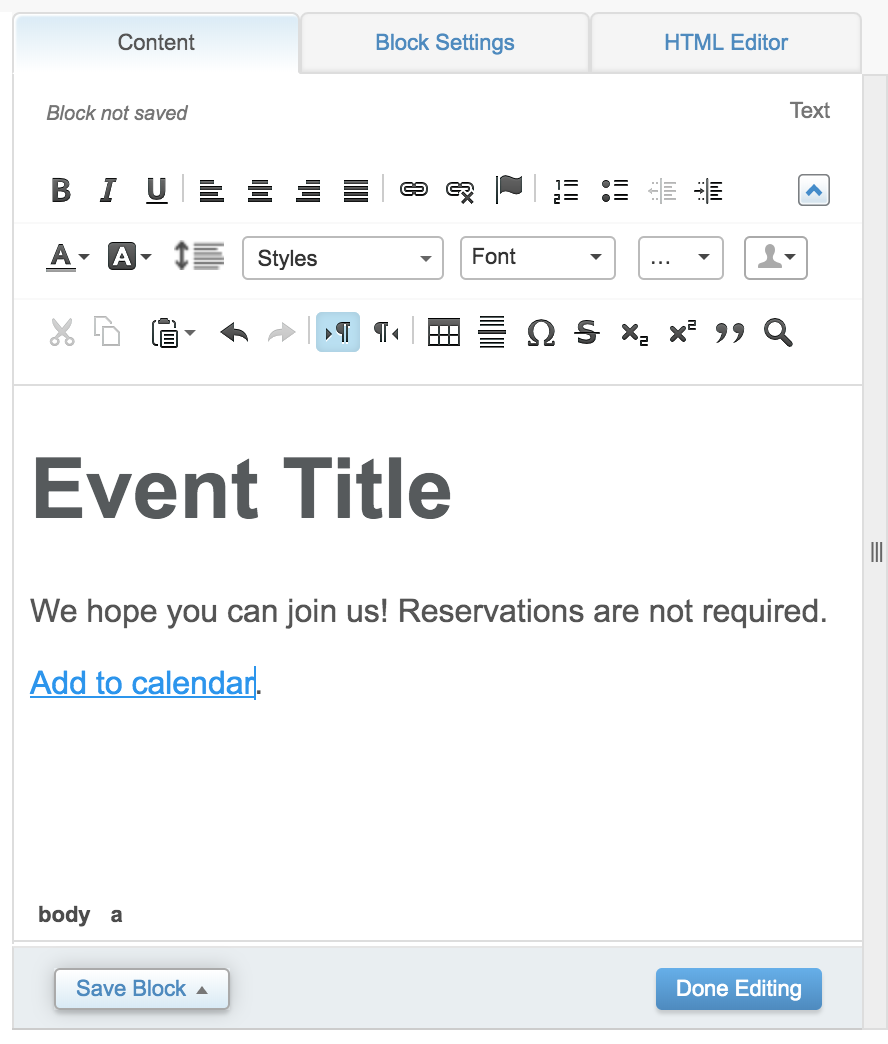
- Access your email and the content block that contains the "Add to Calendar" link. Highlight the text you want to link and click the hyperlink button.
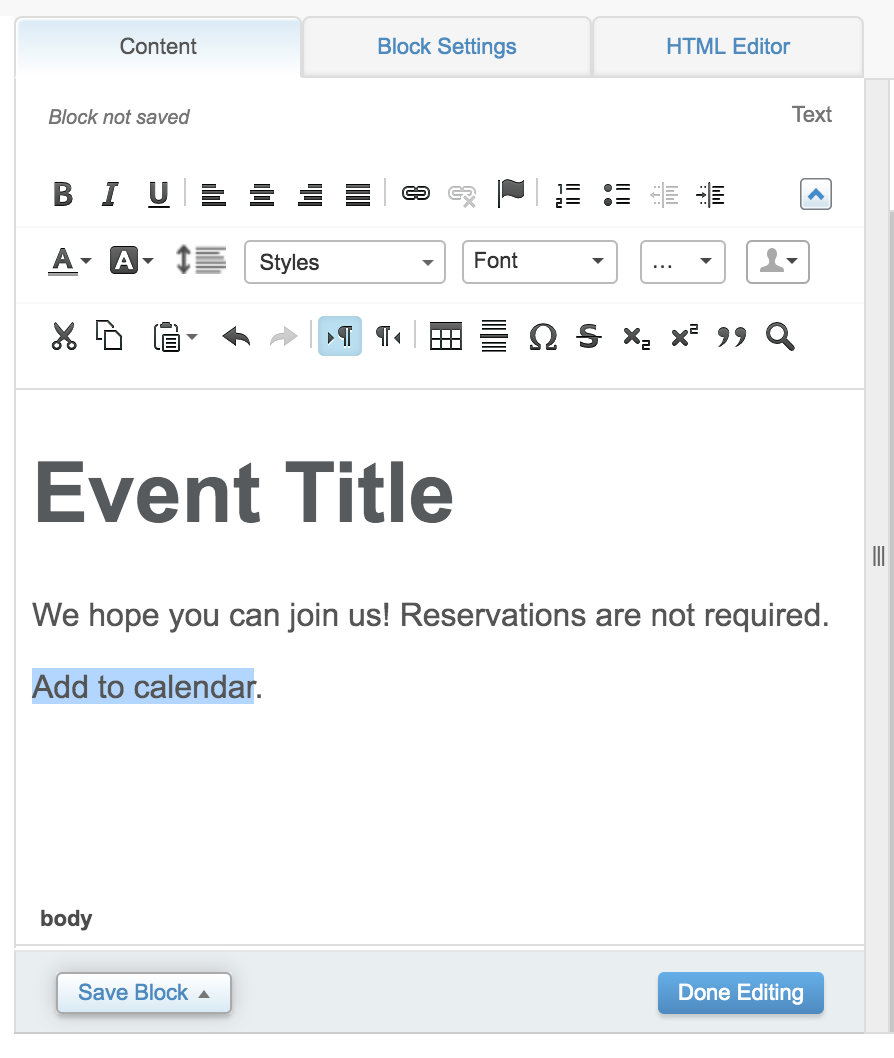
- Paste the URL from step four above and click OK.
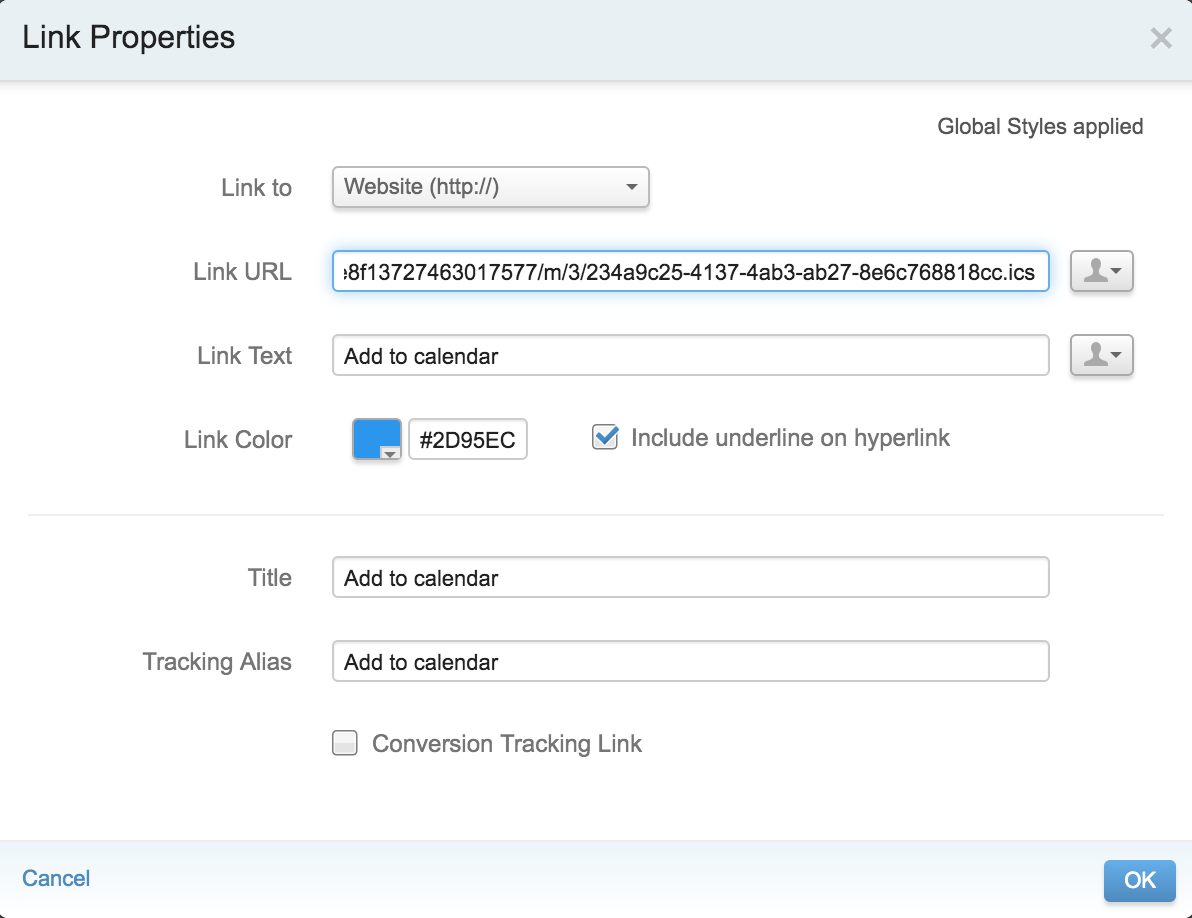
- Your "Add to Calendar" link is now active.
Display Title:
Creating an "Add to Calendar" Link in a Marketing Cloud Email
Send email when Published:
No