CU Marketplace How-to: Using Advanced Document Search [1]
There are several ways to look up documents in CU Marketplace. If you don’t know the document number or if you want to look up a group of documents - like Purchase Orders created by an individual or all the Standing Purchase Orders for your department - you’ll use the Advanced Search feature.
Watch the Mini-Webinar
Video notes: You can hop to specific sections of this video by clicking on the dots in the timeline of the video player.
Read the procedures
Search for Documents
Use Advanced Document Search to look up a group of documents or to lookup a specific document if you don't know the document number. (If you know the document number, use the Quick Search Field in the top ribbon of your screen.)
- On the CU Marketplace home page, use the navigation menu on the left to select Orders > Search
- Select All Orders to see all document types
- Or, select the document type you want to search, Requisitions, Purchase Orders, or Invoices.
- The document search page updates to show all the documents for the University. Now, you’ll need to apply filters to narrow the results.
- By default, the filter is set to the last 90 days. Click the Created Date dropdown to select a different range.
- The Quick Search field provides a faster way to perform some searches. You can search by supplier name, document number, or preparer. Click on the question icon for tips on how to use Quick Search.
- Click the Add Filter dropdown to further refine your search results. This list includes filters like Supplier, Amount, SpeedType, and Department.
When you select a filter, it’s added to your search. Enter your value. Then click Apply.
Note: If you are searching for a SpeedType that is inactive, change the filter option from “Is Equal to” to “Starts with” then enter the SpeedType.
- Use the Quick Filters panel on the left to further refine search results. You can continue to use the Add Filter dropdown above search results, which will update the Quick Filters information.
Note: Quick Filters show the top values for a filter category and are not a comprehensive list. To see all values, like all the Suppliers for your PO Search, you’ll need to click through your pages of results, or export your search results to Excel (scroll down for instructions on exporting results).
- To remove a filter value, click on the filter.
- To remove a value, deselect the checkbox next to that value.
- To delete the filter entirely, click the X next to its dropdown.
Configure Your Searches
You can save your filters and columns so that they default the next time you search.
- Save Filters: You can save your selected filters so that they become your default filters the next time your search. To do this, click Pin Filters. Then click Yes.
- Reorder Columns: You can also change the order of your columns and save your column order as the new default. To do this, select a column and drag it to where you want it. Then click the Pin Filters dropdown and select Pin Columns.
- Add New Columns: Want more information to your search results?
- Click the Configure Columns icon -

- Select your desired columns from the list on the left.
- On the right, reorder those columns and delete columns as necessary.
- This new order will apply to your current search. To pin these columns as your default, select Pin Columns as my defaults.
- When you’re done, click Apply.
- Click the Configure Columns icon -
Save Your Search
If you frequently search for the same items, you can save your searches.
- If you’d like to rerun a search in the future, click Save As to save your search filters.
- Give it a nickname and click on a Personal folder. To add a new folder, click Add New.
- To access saved searches, click on the My Searches tab, then click Manage Searches.
Export the Results
You can export some or all of your search results to a spreadsheet.
- To export all search results to an Excel spreadsheet, click Export All.
- To export only certain rows, select the checkboxes next to those rows then use the dropdown to choose Export-Select Rows.
- Click Submit.
- Access your exported data by clicking the link in the green Success popup. You can also see your exported search results by clicking the User menu in the top ribbon of your screen and selecting Manage Search Exports.
Note - Larger searches may take longer to export. You’ll receive an email when your export is available for viewing/downloading.
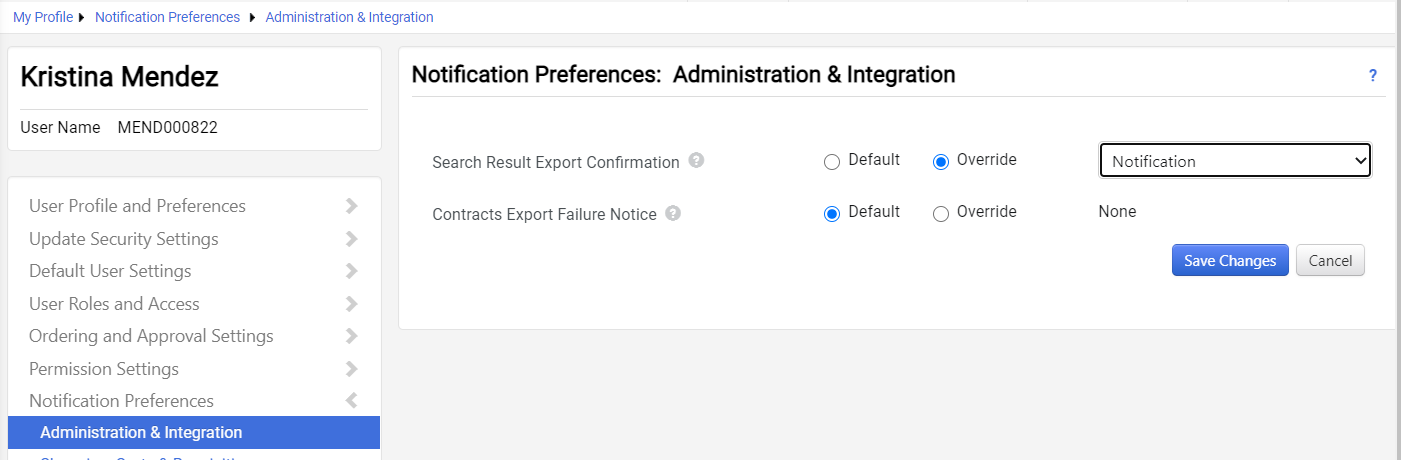
Not receiving emails? Make sure your email notifications for Search Result Exports are on. Click the User menu and select View My Profile. On the left, click Notification Preferences > Administration & Integration. If Email does not display next to the Search Result Export Confirmation, click Edit Section > Default then Save Changes.
Schedule an Export
Want to schedule an export to run automatically?
You can schedule your saved searches to run daily, monthly, or weekly. You’ll receive a notification in CU Marketplace when your scheduled export runs.
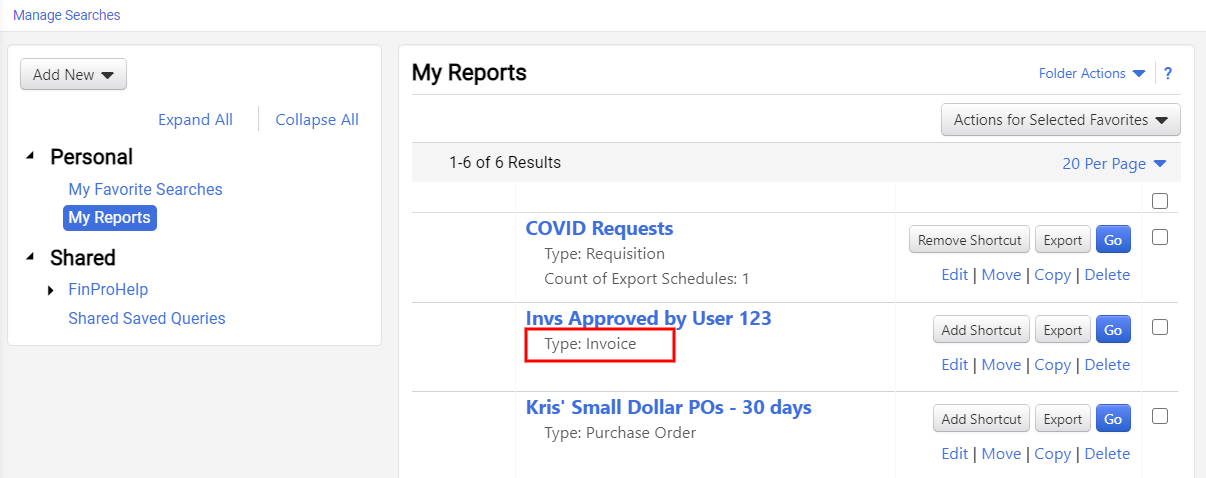
- Confirm the document type for your saved search:
From your saved searches (Profile > Manage Searches)
locate the saved search. Look below the search name for the Type.
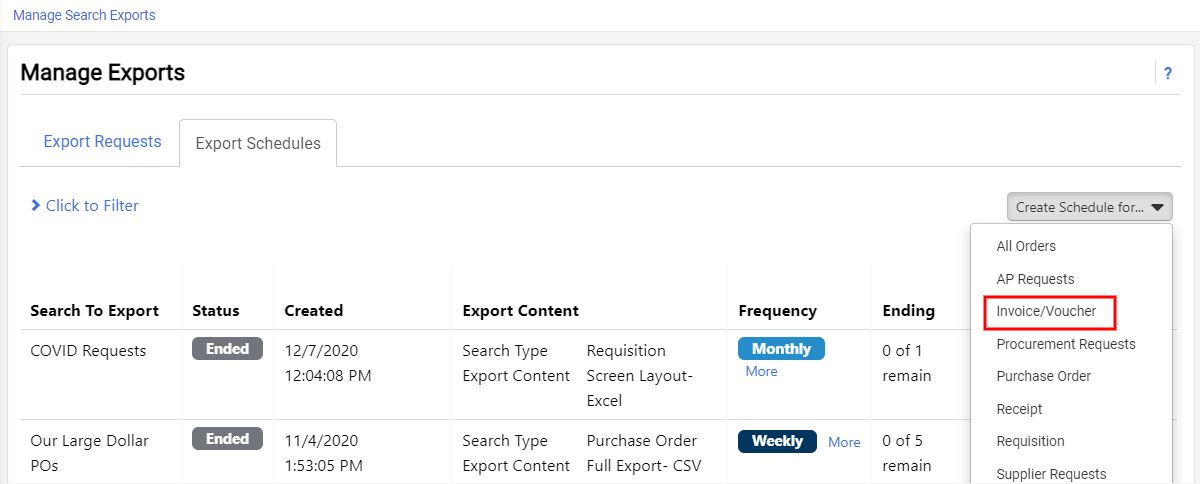
- Schedule the export:
Click the profile icon in the top right corner of the page and select Manage Search Exports. Select the Export Schedules tab. - On the right of your screen, use the Create Schedule for… dropdown to select the appropriate document type.
- In the Search Export screen, use the Search to Export dropdown to select your saved search.
- Set the start/end dates for your export and the desired frequency.
- Click Save.
- The scheduled export will now appear on the Export Schedules tab.
- You’ll receive a notification in CU Marketplace when your export is ready to view. Depending on your notification settings, you may receive an email from CU Marketplace when your search result export is complete.
Note - If you don’t want to receive these emails, you can update your notification settings.- Click the User menu (top ribbon) and select View My Profile.
- On the left, click Notification Preferences > Administration & Integration.
- Click the Edit Section link.
- Use the Search Result Export Confirmation dropdown to select Notification then click Save Changes.
- Need to make changes to a scheduled export? Use the Actions dropdown to edit, disable, or delete a scheduled export.
{start-item}
Tips for Using Advanced Document Search
- Start with a specific document type - Unless you need a mix of document types, beginning with a specific document type makes it faster to search and may offer filters not available from the All Orders screen
- Verify the date range - Searches default to 90 days, so if you’re not seeing what you expect to see, consider expanding that date range
- Use the filters - Start by applying filters, then refine results using Quick Filters or Quick Search, if needed.
- Save some time - Pin your commonly used filters and pin columns in the order you want to see them. Save your frequently (and infrequently) used searches.